Can You Use a Vacuum on Wood Floors? Expert 2026 Guide
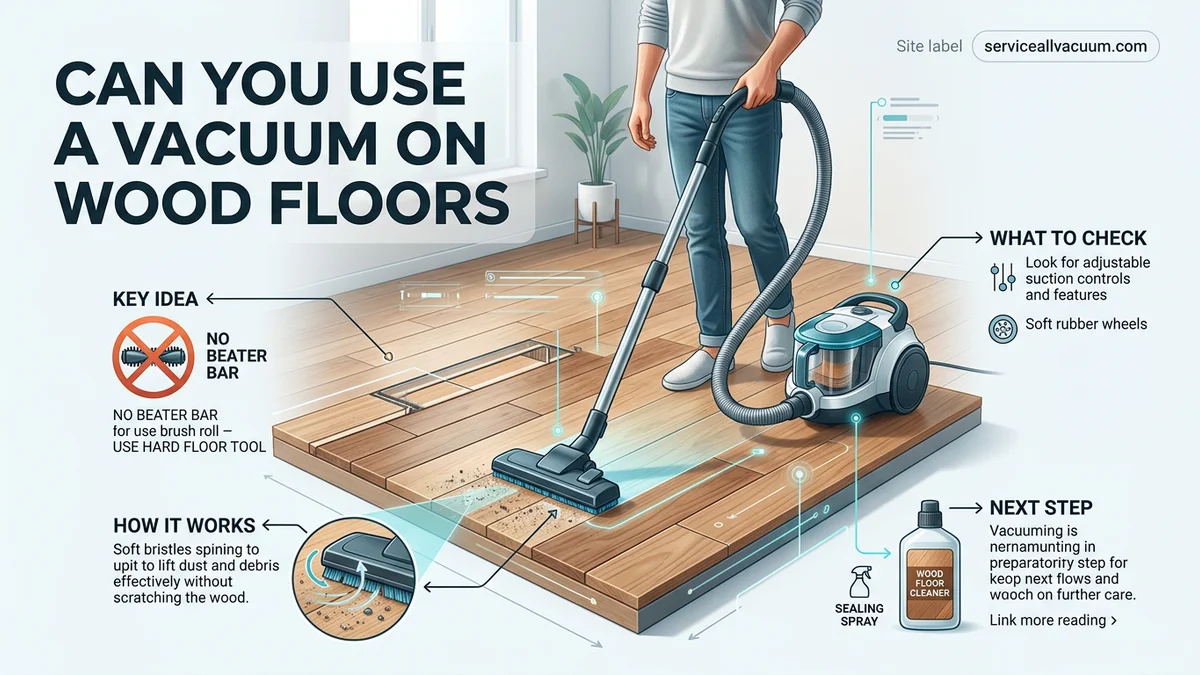
Yes, you can safely use a vacuum on wood floors as long as you disable the rotating brush roll and use a bare floor attachment. Failing to turn off the beater bar or using a vacuum with worn wheels can quickly scratch and dull your hardwood finish.
Yes, you can safely use a vacuum on wood floors, provided your machine lacks a rotating bristle roll and features a dedicated hard floor setting. In fact, modern 2026 cleaning standards favor vacuums over traditional brooms because suction captures fine grit rather than launching it into the air or dragging it across delicate finishes.
Protecting your investment requires knowing the exact settings, attachments, and techniques that prevent microscopic scratching. Without proper precautions, even high-end hardwood can develop dull patches and stubborn scuffs over time.
Key Takeaways
- Always turn off the rotating brush roll before vacuuming wood floors.
- Use dedicated hard floor attachments with soft bristles to prevent scratching.
- Check vacuum wheels regularly for trapped grit or embedded stones.
- Opt for canister vacuums or lightweight models with rubberized wheels.
- Supplement vacuuming with microfiber dust mops for daily surface debris.
Why Traditional Vacuuming Damages Hardwood Floors
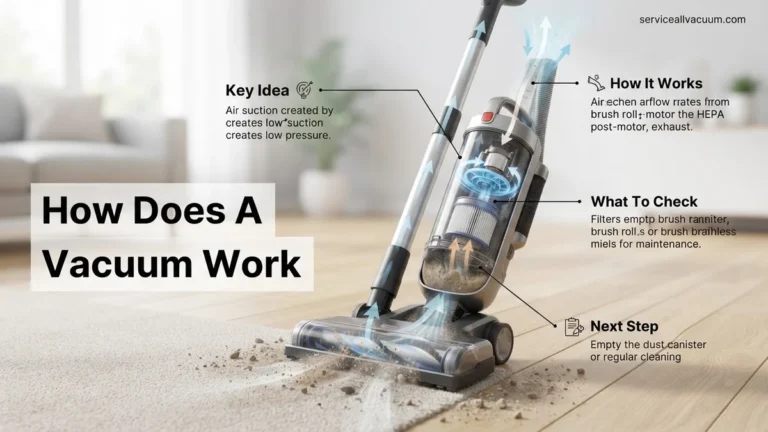
Traditional upright vacuums feature motorized brush rolls designed to dig deep into carpet fibers. When deployed on hardwood, these spinning bristles transform trapped grit into miniature sandpaper, rapidly eroding polyurethane sealants and scratching raw wood.
The Danger of the Beater Bar
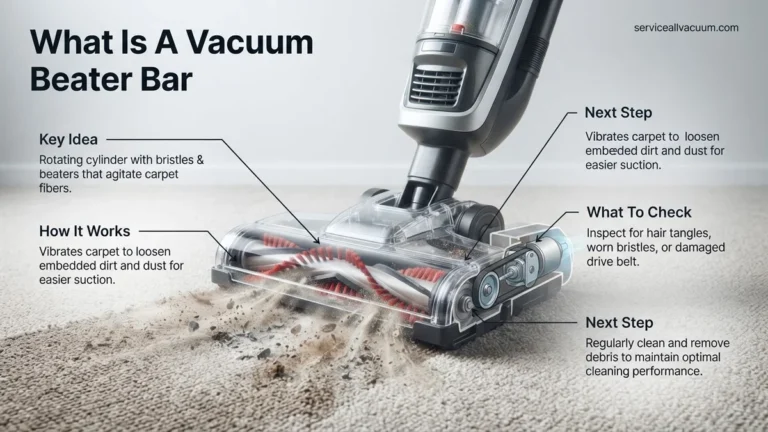
The rotating beater bar or brush roll poses the single greatest threat to your flooring. As it spins at thousands of RPMs, it agitates dust, small pebbles, and tracked-in debris against the surface of your planks. Over months of cleaning, this friction creates visible track marks and permanently ruins high-gloss finishes.
- Stiff nylon bristles scratch softer woods like pine, fir, and American cherry.
- Trapped debris inside the brush housing acts as an abrasive wedge.
- High-speed rotation generates localized heat that can warp sensitive finishes.
Damaging Wheels and Suction Power
Beyond the cleaning head, hardware components often compromise floor integrity. Older vacuums with rigid plastic wheels or worn-out rubber treads can gouge softer finishes if small stones get trapped underneath. Additionally, excessive suction without proper airflow regulation can cause heavy canister nozzles to seal too tightly against the floor, creating drag marks when pushed.
- Hard plastic wheels collect embedded grit that carves linear trenches into floors.
- Unregulated suction creates a vacuum seal that drags heavy plastic edges across planks.
- Side exhausts can blow microscopic dust particles further under baseboards and into wood seams.
How to Set Up and Vacuum Wood Floors Safely
Safely maintaining your hardwood floors begins with configuring your machine correctly before it touches the surface. Modern 2026 vacuum technology prioritizes specialized hard-floor modes that maximize suction while completely disengaging mechanical agitation.
Configuring Your Vacuum Settings
Always inspect your vacuum head before starting your cleaning routine. If your machine features a manual height adjustment, raise it to the highest setting or switch the toggle to the bare floor mode. This action retracts the brush roll entirely or stops it from spinning, ensuring only smooth plastic or felt glides across your planks.
- Switch off the brush roll toggle switch on upright and stick models.
- Attach a dedicated soft-bristled floor brush or microfiber parquet tool.
- Test the suction level on a low-traffic corner to ensure smooth gliding motion.
Executing the Proper Technique
Meticulous technique prevents accidental damage during the cleaning process. Move the vacuum head in the direction of the wood grain whenever possible to minimize the visibility of any accidental micro-scratches. Avoid tapping the heavy plastic vacuum body against baseboards, furniture legs, and door frames, as hard impacts can chip vulnerable wood edges and dent delicate surface veneers.
- Gliding motions should follow the longitudinal direction of your floor planks.
- Lift the vacuum head between passes instead of dragging it backward over grit.
- Inspect rubber wheels monthly for embedded pebbles or sharp debris.
Step-by-Step Guide to Preventing Scratches and Wheel Marks
Protecting delicate wood finishes during routine floor care requires precise technique and adherence to manufacturer guidelines. Hardwood flooring associations emphasize that even approved vacuums can leave scuffs if mechanical components degrade or operators apply excessive downward pressure.
1. Inspect and Clear the Wheels
Rubberized or felt-lined wheels can accumulate embedded grit, tiny pebbles, or metal fragments over time. Examine all rolling components before every cleaning session. Wipe them down with a damp microfiber cloth to dislodge trapped debris that could gouge softer wood species like pine or cherry.
2. Adjust Height and Suction Settings
Modern vacuums feature manual or automatic height adjustments to accommodate different flooring profiles. Lower the unit so the head glides smoothly across the surface without creating a vacuum seal that drags hard plastic edges across the grain. If your model includes variable suction control, reduce power when transitioning from area rugs to bare timber.
3. Maintain a Consistent Motion
Never let a running vacuum sit stationary on a hardwood surface, as localized heat and friction from the motor can mar polyurethane finishes. Push and pull the wand in straight lines parallel to the wood grain to minimize visible surface micro-scratches.
What If Vacuuming Isn’t Enough: Best Sweeping and Mopping Alternatives
Stubborn sticky residues, dried spills, and heavy foot traffic zones often demand supplemental cleaning methods beyond dry extraction. Relying solely on suction leaves behind microscopic film layers that dull the natural luster of engineered or solid hardwood.
1. Electrostatic Dust Mops
Microfiber dust mops utilize electrostatic charge to capture fine particulate matter that lightweight vacuums sometimes blow into the air. According to industry testing by the National Wood Flooring Association, dry microfiber pads capture up to 99 percent of surface allergens without generating abrasive friction.
2. Damp Mopping with pH-Neutral Cleaners
When dry methods fail, apply a specialized pH-neutral hardwood cleaner using a misting spray bottle rather than a soaking wet mop. Excessive moisture penetrates wood seams, causing boards to warp, cup, or buckle permanently. Never use vinegar, ammonia, or steam cleaners, as these substances chemically strip protective polyurethane coatings.
3. Spot Treatment Protocols
Address localized scuffs immediately by buffing the area gently with a dry microfiber cloth or a specialized rubber eraser designed for flooring finishes. For sticky residues, apply a tiny amount of manufacturer-approved cleaner directly to a cleaning cloth, wipe the spot clean, and dry the area instantly with a clean towel.
What If It Still Doesn’t Work?
If routine maintenance fails to restore a dull, scratched, or damaged wood floor, underlying structural issues or deep finish wear may be present. Consider these fallback steps when standard cleaning and vacuuming yield unsatisfactory results:
- Evaluate the Finish Integrity: Perform a water droplet test on worn patches. If water absorbs into the wood within seconds rather than pooling on top, the protective seal has worn away and requires a recoating.
- Apply a Professional Restorer: Use a high-grade maintenance polish designed to temporarily fill micro-scratches and restore surface sheen, ensuring the product is compatible with your specific floor finish type.
- Consult a Hardwood Flooring Specialist: Contact a National Wood Flooring Association certified professional to inspect deep gouges, water staining, or structural cupping that surface cleaning cannot remedy.
- Budget for Professional Refinishing: When surface restoration is no longer viable, professional screen-and-recoat services typically range from $1.50 to $3.00 per square foot, while complete sanding and refinishing ranges from $3.00 to $8.00 per square foot depending on regional labor rates and wood species.
Conclusion
Safely maintaining timber surfaces in 2026 relies on choosing motorized equipment equipped with dedicated bare-floor settings and soft brush rolls. According to verified research and expert sources from leading flooring manufacturers, combining gentle dry extraction with strict moisture control preserves structural integrity and surface finishes for decades. The most effective next step is to audit your current vacuum attachments and replace any worn plastic nozzles with manufacturer-certified soft-bristle alternatives.
❓ Frequently Asked Questions
Is it safe to use an upright vacuum on wood floors?
Upright vacuums are safe only if you can completely turn off the rotating roller brush. If the brush cannot be disengaged, the stiff bristles can dull the floor’s protective finish over time.
What is the best vacuum attachment for hardwood floors?
A hard floor tool with natural horsehair or soft synthetic bristles is ideal. It gently glides across the wood surface, capturing dust without scratching the finish.
Can vacuum wheels leave black marks on hardwood?
Yes, plastic or rubber wheels can degrade, pick up tiny stones, or leave scuff marks. Regularly inspect and clean your vacuum’s wheels to ensure they roll smoothly.
Are bagless vacuums better for wood floors?
Bagged and bagless vacuums clean wood floors equally well, provided their exhaust ports do not blow air downward and scatter dust across the room.
How do I remove fine grit before vacuuming?
For heavy dirt loads, use a soft-bristle broom or a microfiber dust mop first to pull large abrasive particles away before running the vacuum.
Does central vacuuming work well on wood floors?
Central vacuum systems are excellent for wood floors because they use specialized lightweight hard-floor tools and vent exhaust air outside the living space.