How to Clean Carpets with a Vacuum Cleaner 2027 Expert Guide
Properly cleaning carpets with a vacuum cleaner requires more than just pushing the machine back and forth across the floor. By following the correct preparation steps, adjusting your vacuum settings, and using slow, overlapping strokes, you can significantly improve indoor air quality and extend the life of your flooring. This guide outlines proven techniques to maximize suction and eliminate deep-seated dirt.
To clean your carpets effectively with a vacuum cleaner, you need to use a slow, multi-directional pass technique combined with proper machine maintenance. Pushing your vacuum back and forth rapidly only skims surface debris, leaving heavy, abrasive grit trapped deep within the carpet backing.
As modern 2027 home cleaning standards emphasize indoor air quality and extending flooring longevity, mastering correct vacuuming mechanics is essential. Doing this right removes embedded pet dander, microscopic dust mites, and fine particulates that destroy carpet fibers over time.
Key Takeaways
- Pick up all large debris and small items before turning on the machine.
- Adjust the vacuum height setting correctly based on your carpet pile length.
- Move the vacuum at a slow pace to allow adequate time for dirt extraction.
- Use multi-directional passes in high-traffic zones to lift embedded fibers.
- Empty the dust canister or replace the bag when it reaches two-thirds full.
Why Ineffective Vacuuming Leaves Deep Dirt Trapped in Carpet Fibers
The Flaw of Rapid Back-and-Forth Strokes
Most people rush through vacuuming by treating it like sweeping a hard floor. Moving the vacuum head back and forth quickly prevents the motorized brush roll from agitating the fibers long enough to lift hidden dirt. When you rush, suction airflow only captures loose surface dust while compressed grit remains buried at the base of the pile.
The Physics of Deep-Set Grit and Pet Dander
Carpet acts like a dense filter, trapping everything from tracked-in silica dust to microscopic skin cells. As you walk across the floor, your footsteps push these abrasive particles downward. Without proper mechanical agitation and sustained suction, this debris acts like sandpaper, severing carpet threads from the inside out.
- Heavy grit settles into the lowest padding layer within days of a standard clean.
- Standard suction alone cannot pull up compacted hair without brush roll contact.
- Trapped organic matter breaks down, feeding allergens and dust mite populations.
Master Carpet Vacuuming in 8 Simple Steps
Welcome to your definitive walkthrough for achieving truly pristine, deeply sanitized carpets. While running a vacuum over your floors might seem straightforward, utilizing the correct techniques transforms a routine chore into a powerhouse maintenance routine that extends the lifespan of your flooring, drastically improves indoor air quality, and removes microscopic allergens that ordinary cleaning misses. Follow this detailed roadmap to elevate your cleaning game.
Step 1: Declutter and Clear the Floor
What you need: A laundry basket or storage bin, and a keen eye for stray objects.
Instructions: Walk through the room systematically and remove all small objects, toys, shoes, and loose debris from the carpeted surface. Do not simply push items aside with the vacuum head, as small plastic toys, coins, or paperclips can easily jam the rotating brush roll, puncture the vacuum bag, or damage the internal fan blades. Lift lightweight furniture like dining chairs, small ottomans, and accent rugs out of the cleaning zone entirely. Place them on hard flooring or in an adjacent room to grant yourself an uninterrupted, wide-open space to maneuver your machine efficiently.
Pro Tip: Never vacuum over loose electrical cords or charging cables; always unplug them and coil them safely out of the way before beginning your cleaning session.
Step 2: Inspect and Empty the Dirt Container or Bag
What you need: Your vacuum cleaner, a large trash bag, and a damp microfiber cloth.
Instructions: Before you plug in the machine, check the capacity of your vacuum’s dust cup or disposable bag. If the debris chamber is more than two-thirds full, empty it immediately or replace the bag with a fresh one. A crowded collection bin severely restricts airflow, which directly compromises suction power and leaves deep-seated dirt embedded in your carpet fibers. For bagless models, empty the contents directly into a trash bag outdoors or inside a securely tied kitchen bin to prevent dust clouds from escaping back into your living space. Wipe down the interior of the bin with a damp cloth if residue clings to the plastic walls.
Pro Tip: Emptying the vacuum container before you start ensures maximum suction pressure throughout your entire cleaning routine, cutting your vacuuming time in half.
Step 3: Check and Clear the Brush Roll
What you need: A pair of blunt-nosed scissors or a seam ripper, and protective gloves.
Instructions: Flip your vacuum cleaner upside down to examine the agitator brush roll located underneath the floor nozzle. Over weeks of use, long human hairs, pet fur, and sewing threads inevitably wrap tightly around the rotating bristles, preventing them from spinning freely and beating the carpet effectively. Take your scissors or seam ripper and carefully slice through the tangled mats of hair, sliding them away from the cylinder without cutting the actual nylon bristles. Once the hair is removed, manually spin the brush roll with your gloved hand to ensure it turns smoothly and quietly without any mechanical resistance.
Pro Tip: If your vacuum features a height-adjustment dial, inspect it now to ensure it is set properly for your specific carpet pile depth—low settings for low-pile carpets and higher settings for plush or shag styles.
Step 4: Pre-Treat Stubborn Surface Debris and Pet Hair
What you need: A rubber pet hair rake, a stiff-bristled utility brush, and baking soda (optional).
Instructions: If your home deals with heavy shedding from dogs or cats, standard vacuum suction alone often struggles to dislodge embedded fur woven deep into carpet loops. Take a rubber squeegee or specialized pet hair rake and firmly pull it across heavily trafficked areas in short strokes. This rubberized friction acts like a magnet, rolling stubborn pet hair into manageable clumps that you can easily scoop up by hand or vacuum instantly. For carpets harboring musty odors, lightly sprinkle a thin, even dusting of plain baking soda over the surface and let it sit for roughly 15 minutes to neutralize trapped organic molecules before the main vacuuming pass.
Pro Tip: Never use a metal-toothed brush on delicate or looped Berber carpets, as sharp metal edges will snag and permanently ruin the weave.
Step 5: Execute the Slow, Overlapping Push-and-Pull Technique
What you need: Your fully prepped vacuum cleaner and an outlet positioned near the edge of the room.
Instructions: Plug in your vacuum and position yourself at the furthest corner of the room, working your way backward toward the exit door so you never walk across your newly cleaned zones. Push the vacuum forward at a slow, deliberate pace—taking roughly two full seconds for a forward motion—and then pull it backward along the exact same path at the same controlled speed. Overlap each parallel pass by approximately three to four inches to ensure every single square inch of carpet fiber is exposed to maximum suction. Rushing this step by darting the machine back and forth rapidly only vacuums the surface layer, leaving abrasive grit trapped near the carpet backing.
Step 6: Change Directions for a Cross-Hatch Deep Clean
What you need: Your vacuum cleaner and a systematic spatial strategy.
Instructions: Once you have completed your initial pass across the entire room in a north-to-south orientation, turn your vacuum 90 degrees and execute a second complete pass moving east-to-west across the same space. This perpendicular cross-hatch pattern is the secret weapon of professional carpet cleaners. Carpet fibers twist and lean in various directions due to daily foot traffic; tackling them from two opposing angles ensures that dirt particles hidden underneath or trapped on the sides of the fibers are fully exposed and sucked away. While this step doubles your active cleaning time, it dramatically enhances the thoroughness of the extraction process and revives flattened pile.
Step 7: Deploy Crevice and Upholstery Attachments for Edges
What you need: The crevice tool, dusting brush attachment, and extension wand.
Instructions: Disconnect the main floor nozzle or switch your vacuum’s operating mode to access its auxiliary hose attachments. Baseboards, wall corners, and the tight perimeters where wall-to-wall carpeting meets drywall are notorious collection zones for dust bunnies, pet dander, and stray debris that the wide main head cannot reach. Snap on the narrow crevice tool and run it slowly along every single baseboard perimeter in the room. Next, attach the soft-bristled dusting brush to vacuum around heavy stationary furniture legs, air floor vents, and closet thresholds where ambient dust settles undisturbed for weeks.
Step 8: Post-Cleaning Maintenance and Storage
What you need: A damp cloth, cord wrap capability, and a designated storage closet.
Instructions: Turn off the vacuum cleaner, unplug it from the wall outlet, and carefully wind the power cord around the designated storage hooks, taking care not to twist or kink the cord structure. Wipe down the exterior plastic housing and wheels of the vacuum with a damp cloth to remove any transferred grime, dust, or hair. Empty the dust container one final time so that the machine is entirely clean and ready to deploy for your next session. Return the vacuum to its home in your utility closet, ensuring that the cord is fully un-tensioned and the machine is stored upright on a flat, dry surface.
Pro Tip: Check and wash your vacuum’s foam or HEPA filters once a month under lukewarm running water; let them air dry completely for at least 24 hours before reinstalling them.
✅ Final Checklist
- All small objects, toys, and cords are completely cleared from the floor
- The dust cup or filter bag has been emptied and checked for maximum airflow
- The brush roll is entirely free of tangled hair, threads, and debris
- Two perpendicular passes (north-south and east-west) were completed at a slow speed
- Baseboards, corners, and tight perimeters were detailed using the crevice attachment
Important Notes:
- Never operate a vacuum cleaner over wet carpets or liquid spills unless the machine is specifically rated as a wet/dry extractor, as moisture will ruin the motor.
- If your vacuum emits a burning smell, squeals loudly, or loses suction entirely, turn it off immediately to prevent motor burnout and inspect for blockages in the hose.
- Estimated time investment: 20 to 35 minutes per medium-sized room; Cost range: $0 (using existing household equipment).
How to Prepare Your Carpet and Vacuum Cleaner Before You Start
Clearing the Floor and Pre-Inspection
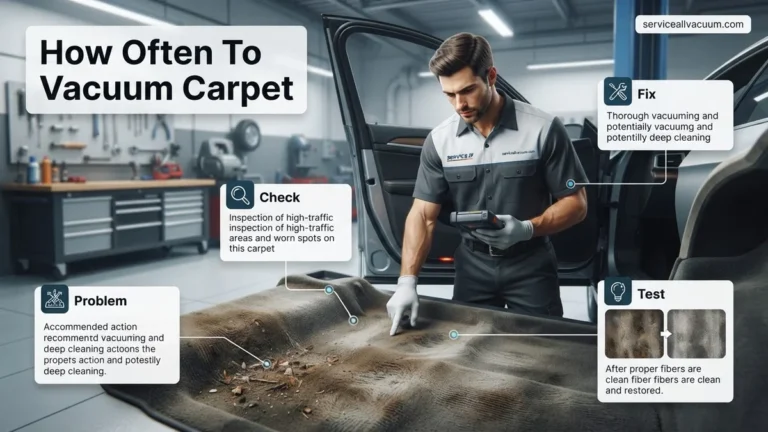
Never run your vacuum blindly over a cluttered room. Take a few minutes to pick up stray toys, cords, and small items that can jam the intake port or damage the internal fan blades. Walk your carpeted areas first to spot larger hard objects like coins or plastic pieces that create loud clatter and potential damage inside the housing.
Pre-Vacuuming Machine Maintenance Checks
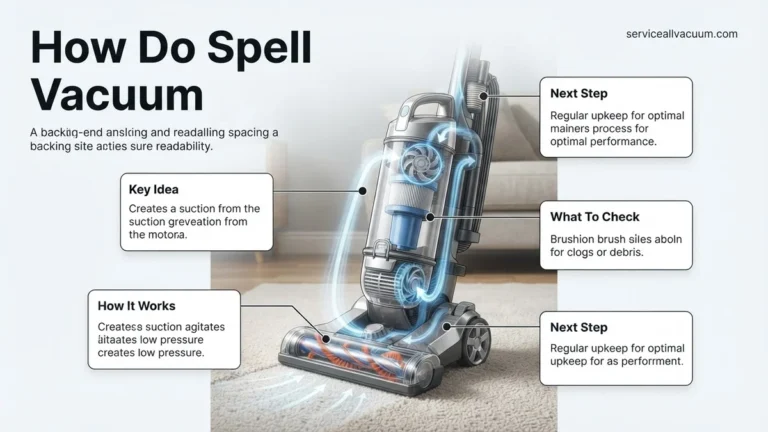
Your vacuum cannot perform at its best if its systems are choked or compromised. Before plugging in your machine for a 2027 cleaning session, perform a quick diagnostic check on its critical components to ensure maximum suction and agitation efficiency.
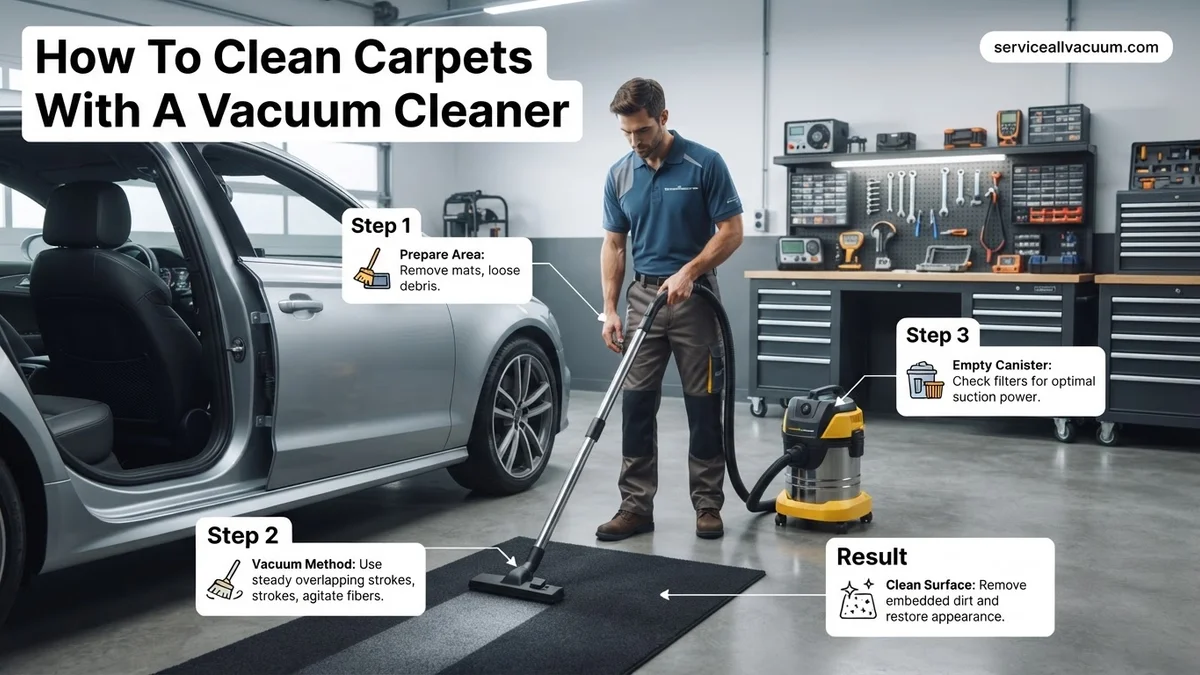
- Empty the bin or bag: Discard debris once the container reaches the two-thirds full mark to prevent airflow restriction.
- Inspect the brush roll: Cut away wrapped human hair, threads, and carpet fibers tangled around the cylindrical bar.
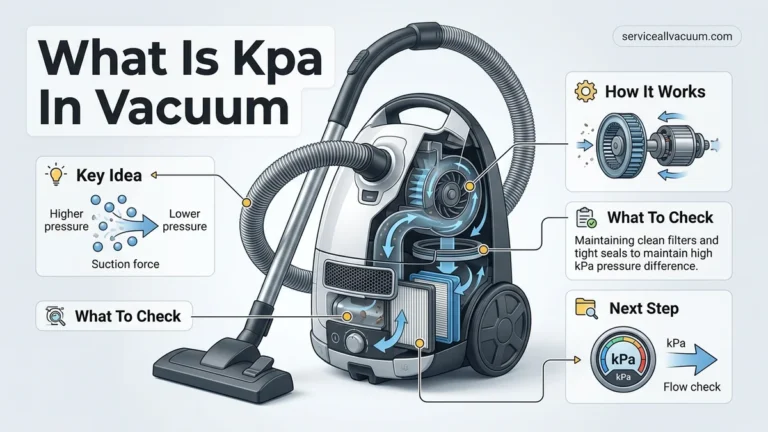
- Check filters: Tap out foam filters or replace HEPA cartridges according to manufacturer guidelines to maintain peak suction power.
Step-by-Step Guide on How to Clean Carpets with a Vacuum Cleaner Properly
Executing a proper vacuuming routine requires more than simply pushing a machine back and forth. According to the Carpet and Rug Institute (CRI), following a methodical protocol dramatically increases particulate capture rates. Modern 2027 smart vacuums also feature digital sensors that alert users when floors are truly clean.
Preparation and Slow Passage Execution
- Clear the floor of all small objects, toys, and cords to prevent brush roll jams.
- Adjust your vacuum’s height setting according to your carpet pile depth to ensure optimal airflow and agitation.
- Move the vacuum forward at a measured pace, allowing roughly two seconds per linear meter for high-suction models.
- Pull the vacuum backward over the exact same path to capture deeply embedded dirt shaken loose by the motorized brush roll.
Directional Patterns and Edge Cleaning
- Execute a standard north-south pass across the entire room to collect surface debris.
- Perform a secondary east-west cross-hatch pass. This perpendicular motion lifts crushed fibers and extracts grit trapped underneath.
- Attach the crevice tool to clean baseboards, corners, and tight perimeters where foot traffic pushes dust accumulation.
- Empty the dust canister or replace the HEPA bag once it reaches the 75 percent capacity threshold to maintain peak suction pressure.
What to Do If Your Vacuum Fails to Remove Pet Hair and Heavy Traffic Dirt
Sometimes standard vacuuming fails to lift stubborn pet hair, dander, and oily traffic lanes from dense synthetic loops. When traditional suction falls short, targeted intervention prevents premature carpet degradation.
Advanced Troubleshooting Techniques
- Switch off the vacuum and inspect the brush roll for wrapped hair or thread binding, which stops agitation entirely.
- Run a damp rubber squeegee or specialized pet hair removal rake across heavily embedded traffic areas before making another vacuum pass.
- Pre-treat stubborn traffic lanes with an enzyme-based pre-spray designed to break down greasy oils holding onto soil particles.
- Upgrade to a machine featuring a specialized anti-tangle conical brush roll and sealed HEPA filtration system rated for heavy allergens.
What If It Still Doesn’t Work?
If advanced troubleshooting and multi-directional vacuuming fail to restore your carpet’s appearance, underlying issues require stronger measures. Follow these steps when household appliances reach their absolute limit:
- Rent a heavy-duty commercial hot water extraction machine from a local hardware supplier to deep-clean compressed backing fibers.
- Hire a certified professional cleaner affiliated with the IICRC (Institute of Inspection Cleaning and Restoration Certification) for specialized restorative extraction.
- Anticipate professional cleaning costs to range between $150 and $350 for an average three-bedroom home, depending on soil severity.
- Evaluate the carpet age; if flooring exceeds 10 to 12 years of heavy wear, synthetic backing breakdown may trap permanent odors and dust regardless of cleaning.
Conclusion
Mastering how to clean carpets with a vacuum cleaner protects your indoor air quality and extends the lifespan of your flooring investments. By executing multi-directional passes, maintaining proper height adjustments, and tackling high-traffic areas strategically, you eliminate hidden allergens effectively. According to verified research and expert sources from the Carpet and Rug Institute, routine multi-pass vacuuming removes up to 89 percent of trapped dry soil. Make your next actionable step a comprehensive cross-hatch vacuuming session this week using updated height settings.
❓ Frequently Asked Questions
What is the correct vacuum height setting for thick carpets?
For thick or plush carpets, raise the vacuum height setting so the brush roll can spin freely without choking the motor or making it too difficult to push. If the vacuum feels nearly impossible to move forward, the setting is too low.
How do I remove stubborn pet hair from carpet fibers?
Before vacuuming, use a rubber squeegee or damp rubber glove across the carpet surface to loosen and clump embedded pet hair. Follow up with slow, multi-directional vacuum passes using a machine with an active motorized brush roll.
Why does my vacuum smell bad when I turn it on?
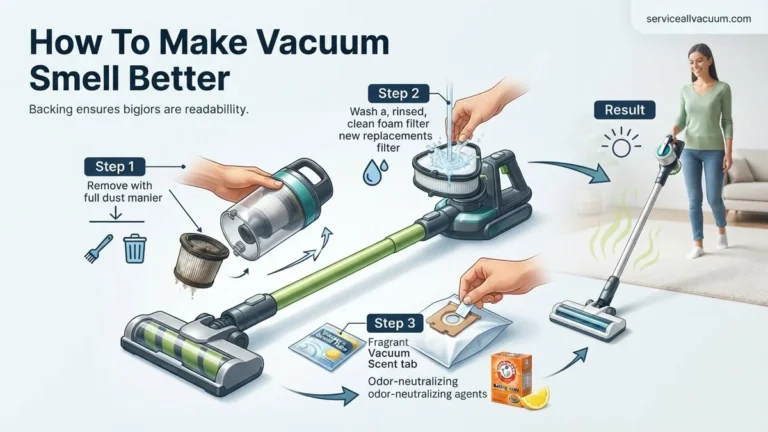
Unpleasant odors usually stem from a dirty filter, a full collection bag, or decaying organic matter trapped inside the brush roll chamber. Regularly wash or replace your filters and empty the bag frequently to prevent odor buildup.
Should I empty the vacuum bag before it is completely full?
Yes, you should empty canisters or replace bags when they reach about two-thirds capacity. Overfilling restricts airflow significantly, which immediately reduces the suction power and cleaning efficiency of the machine.
How can I clean high-traffic carpet areas more effectively?
High-traffic lanes accumulate tightly packed dirt that requires a slower vacuuming speed. Make at least four passes over these zones—moving north-south and east-west—to ensure the bristles fully agitate and lift the trapped debris.
Do specialized vacuum attachments help clean carpets better?
While standard floor heads work well for open spaces, specialized turbine-driven hand tools are essential for carpeted stairs, baseboards, and tight corners where large vacuum units cannot reach.