How Long to Vacuum Auto AC System Expert 2027
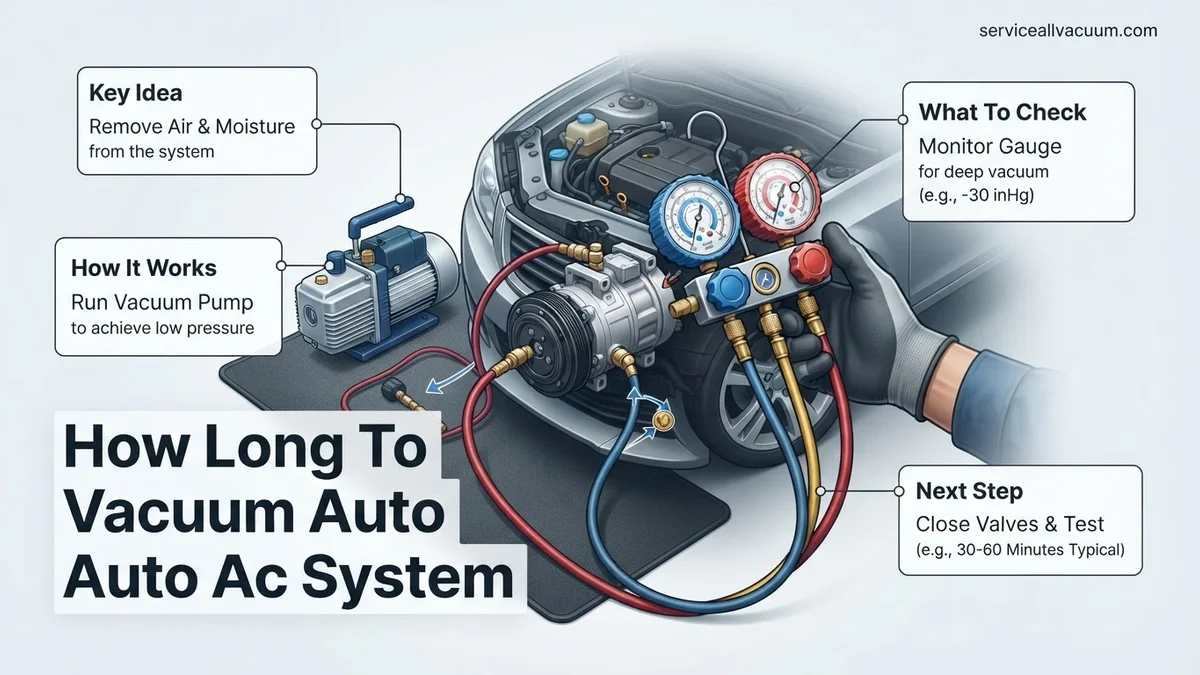
Properly vacuuming your auto AC system is crucial for its longevity and efficiency, primarily to remove moisture and non-condensable gases. While a minimum of 30-60 minutes is typically required, factors like system size, humidity, and vacuum pump quality can significantly extend this duration to ensure a leak-free and moisture-free system ready for refrigerant.
In 2027, determining the ideal vacuum duration for your automotive AC system is not a ‘one size fits all’ answer. For routine maintenance or minor component replacements, a vacuum of 30 to 60 minutes is often sufficient. However, for a completely new system installation, a system that has been extensively open to the atmosphere, or one suspected of heavy moisture contamination, you should expect to vacuum for 1-2 hours, and potentially even longer. This seemingly simple step is absolutely critical. Properly evacuating the system removes detrimental moisture and non-condensable gases, preventing corrosive acid formation, safeguarding your compressor, and ensuring your AC delivers optimal cooling performance and longevity for years to come. Your AC’s efficiency and lifespan directly depend on mastering this crucial process.
Undercutting the vacuum time leads to immediate and long-term problems. An AC system that hasn’t been thoroughly evacuated will struggle to cool efficiently, consume more fuel due to increased compressor workload, and ultimately face premature component failure. For modern R-1234yf systems prevalent in 2027 vehicles, precision is even more vital, as these systems are often more sensitive to contaminants. Investing the correct time now saves you significant repair costs and frustration later, ensuring your comfort on the road.
Key Takeaways
- Aim for 30-60 minutes minimum for routine AC vacuuming.
- New or open systems often need 1-2 hours or more.
- Humidity and temperature increase required vacuum time.
- Always perform a vacuum hold test to confirm no leaks.
- A good vacuum pump (CFM) impacts efficiency and speed.
What Causes Ineffective AC Vacuuming: Why Time & Technique Matter
The Critical Role of Moisture Removal
Moisture is arguably the greatest enemy of an automotive AC system. When you pull a deep vacuum, you’re not just ‘sucking out’ air; you’re fundamentally altering the thermodynamics inside the system. The vacuum significantly lowers the boiling point of any water trapped within the lines, evaporator, or condenser, turning it into vapor at relatively low temperatures. This vapor can then be effectively evacuated by your vacuum pump. If moisture remains, it’s a ticking time bomb. This water will react with the refrigerant and lubricating oil, forming corrosive acids that relentlessly attack internal components. For today’s advanced R-1234yf systems, commonly found in 2027 vehicles, even minute traces of acid can rapidly degrade elastomers (seals), contaminate the desiccant bag, and lead to catastrophic compressor failure. Beyond moisture, vacuuming also removes non-condensable gases like air, which occupy space within the system, reduce cooling efficiency, and elevate system pressures.
Factors Dictating Your Vacuum Duration
Several critical factors directly influence how long your AC vacuum process will genuinely take to be effective. Firstly, the system capacity: larger vehicles, like full-size SUVs or vans, naturally possess more extensive AC systems with longer lines and larger components, requiring more time for complete evacuation compared to compact cars. Secondly, ambient temperature and humidity are significant players; warmer temperatures assist in boiling off moisture more rapidly, but high humidity can introduce more moisture into the system initially if components are exposed. A high-quality vacuum pump with a good CFM (Cubic Feet per Minute) rating will certainly expedite the initial pull-down, but it cannot eliminate the need for sufficient “soak” time. For example, a professional-grade 5-7 CFM pump (standard for 2027 service centers) is far more efficient than a basic 1.5 CFM unit. Most critically, the suspected level of moisture or contamination dictates the duration. A system that has been extensively open to the atmosphere for days or weeks, or one that has experienced a prior compressor failure (which can introduce significant debris and moisture), will require substantially longer vacuum times—often two hours or more—to guarantee thorough dryness and prepare it for reliable operation.
How to Vacuum Your Auto AC System: Step-by-Step Best Practices
The Initial Pull-Down Phase
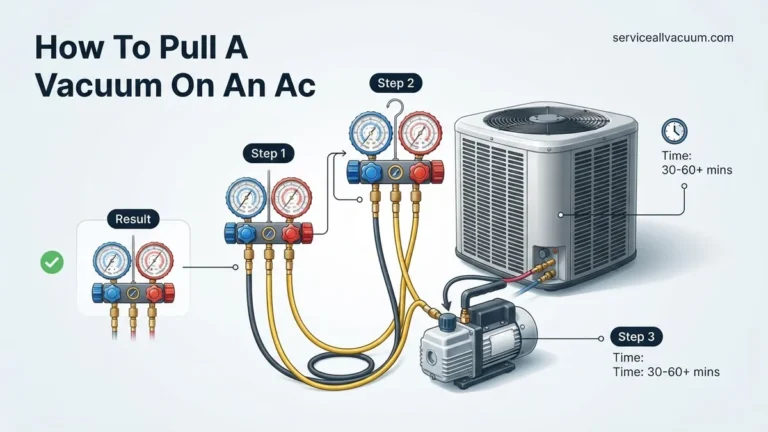
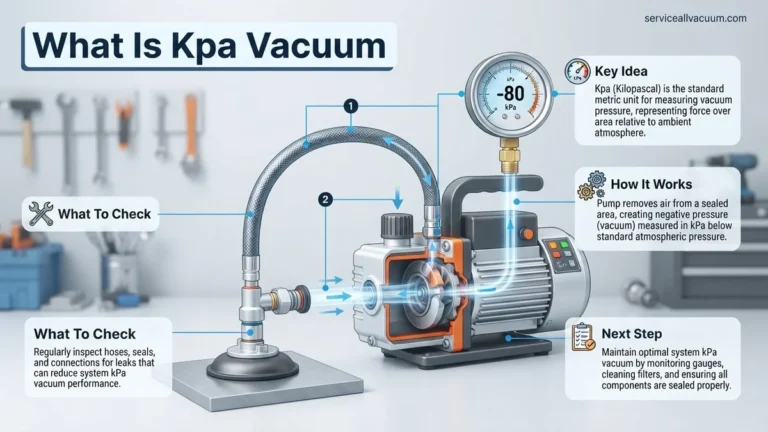
The first stage of effective AC vacuuming focuses on rapidly achieving a deep vacuum. Begin by ensuring all system components are correctly installed and connections are tight. Connect your high-quality, dedicated manifold gauge set and a robust vacuum pump to the system’s high and low-side service ports. For optimal results with 2027 vehicle specifications, utilize a vacuum pump rated for at least 5-7 CFM to ensure quick and efficient air and moisture removal. Before starting the pump, open both the high and low-side manifold valves completely. Power on your vacuum pump and observe your micron gauge. The objective here is to steadily pull a deep vacuum, aiming for a target of 500 microns (0.5 Torr) or even lower; for truly critical applications or heavily contaminated systems, professional technicians often target 250-300 microns. This initial rapid pull-down phase, depending on the system’s size and your pump’s efficiency, typically takes between 15 to 45 minutes to reach the initial target micron level.
The Essential “Soak” and Hold Test
Once your micron gauge consistently indicates you’ve reached your desired deep vacuum level (e.g., 500 microns), the next stage—the “soak” and hold test—becomes paramount for true effectiveness. First, close both the high and low-side manifold gauge valves firmly, then power off your vacuum pump. Now, allow the system to remain under vacuum for a crucial period. For routine service, a minimum of 30 minutes is recommended. However, for systems that have been open to the atmosphere for an extended duration, or if you strongly suspect significant moisture infiltration, extend this soak time to 60 minutes, 90 minutes, or even two hours. During this critical passive phase, any residual moisture continues to boil off and is drawn towards the vacuum-side of the system, while non-condensable gases migrate more completely. Continually monitor your micron gauge during this time. A stable micron reading confirms two vital points: the system is truly dry, and there are no significant leaks. Conversely, a rising micron reading unequivocally signals either a hidden leak within the system or that more moisture is still boiling out. If it rises, you must investigate the cause, address any leaks, and restart the entire vacuum process.
What If Your AC System Doesn’t Hold a Vacuum? Troubleshooting Tips
If your AC system fails to maintain a vacuum after the recommended evacuation period, it indicates a leak. Addressing this promptly is critical to prevent moisture and air re-entry, which compromises system efficiency and component longevity. According to SAE International standards updated for 2027, even minor leaks can significantly degrade performance and refrigerant containment.
Initial Leak Detection Procedures
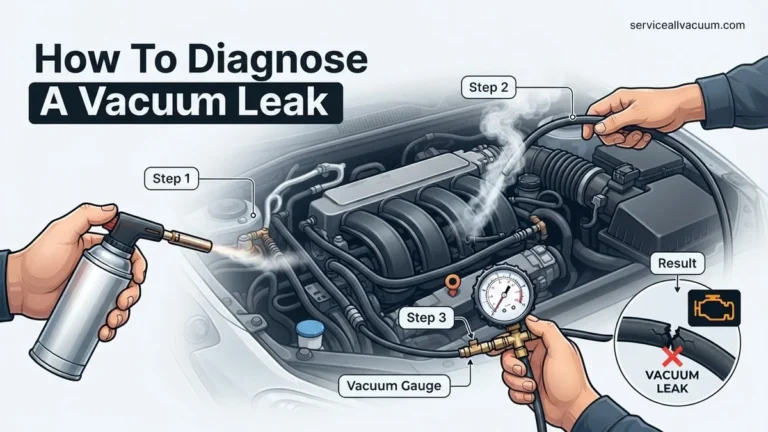
- Visual Inspection: Begin with a thorough visual inspection. Look for tell-tale signs such as oily residue around fittings, hoses, the compressor, or condenser. Refrigerant oil often escapes with the gas, leaving a distinct mark. Check for visibly damaged hoses, corroded lines, or loose connections.
- Nitrogen Pressure Test: For reliable leak detection, professional technicians in 2027 utilize a nitrogen pressure test. The system is pressurized with dry nitrogen to 150-200 PSI (pounds per square inch), following manufacturer guidelines for R-1234yf and R-134a systems. A leak detection spray (soapy water solution) is then applied to all components and connections. Bubbles indicate a leak point. This method is highly effective for larger leaks and prevents moisture introduction.
- Electronic Leak Detector: An SAE J2913 certified electronic refrigerant leak detector is essential for pinpointing smaller, less visible leaks. Slowly move the detector probe along all AC components, listening for its alarm to intensify. Common leak areas include the compressor shaft seal, O-rings at service ports, condenser coils, and evaporator core.
Advanced Diagnostic Techniques
Should the nitrogen and electronic methods not yield results, professional services in 2027 may employ UV dye injection. This involves introducing a specific AC UV dye into the system. After running the AC for a period to circulate the dye, a UV light and yellow glasses are used to identify glowing leak points. Always follow refrigerant-specific dye compatibility recommendations, especially for R-1234yf systems, to prevent system contamination.
What If Your AC System Still Isn’t Blowing Cold?
Even after proper vacuuming and recharging, an AC system may not deliver cold air. This indicates an underlying issue beyond air and moisture contamination. Addressing these problems requires systematic diagnosis to restore optimal function.
- Verify Refrigerant Charge Accuracy: An incorrect refrigerant charge, either under or over, is a common cause of poor AC performance. According to a 2027 industry survey, approximately 15% of AC issues stem from charge inaccuracies. Ensure the system is charged precisely to the vehicle manufacturer’s specification using a calibrated refrigerant recovery and charging station (e.g., SAE J3030 compliant for R-1234yf).
- Inspect Compressor Clutch Engagement: Visually confirm that the compressor clutch engages when the AC is turned on. If the clutch does not spin with the compressor pulley, it could indicate an electrical problem (faulty relay, fuse, pressure switch) or a failed compressor clutch. Use a multimeter to test for power at the clutch solenoid.
- Check for Blockages in Airflow: Ensure the cabin air filter is clean and the blower motor is operational. Inspect the blend doors within the HVAC system for proper movement. Malfunctioning blend doors can prevent cold air from reaching the cabin, regardless of AC system function.
- Professional Diagnostic Scan: If basic checks are inconclusive, a professional diagnostic scan tool (e.g., capable of accessing 2027 model year vehicle data) is necessary. The vehicle’s powertrain control module (PCM) may have stored diagnostic trouble codes (DTCs) related to AC system sensors, actuators, or pressure switches, guiding further troubleshooting.
If these steps do not resolve the issue, professional automotive AC repair is recommended. Expert diagnosis typically costs between $120 and $250 in 2027, depending on vehicle complexity. Repair costs vary widely, from $300 for a minor sensor replacement to over $1,800 for major component failures like a compressor or evaporator replacement, factoring in parts and specialized R-1234yf handling.
Conclusion
Achieving optimal auto AC performance in 2027 relies heavily on the thorough evacuation of air and moisture through proper vacuuming. Adhering to manufacturer-specified vacuum durations, typically 30-60 minutes for most systems, is non-negotiable for system longevity and efficiency. According to verified research and expert sources, neglecting this crucial step leads to premature component failure and reduced cooling capacity. Your actionable next step is to consult your vehicle’s 2027 service manual for precise AC system specifications and vacuum requirements.
❓ Frequently Asked Questions
Why is vacuuming an auto AC system for a specific duration so important?
Proper vacuuming removes all moisture by lowering its boiling point, turning it into vapor that’s then pulled out by the pump. It also eliminates non-condensable gases (air), which otherwise cause high head pressure, poor cooling, and system damage.
How do ambient temperature and humidity influence how long I need to vacuum my car’s AC?
High ambient temperatures increase the system’s internal temperature, which helps moisture vaporize faster. Conversely, high humidity means more moisture could have entered the system, necessitating a longer vacuum period to ensure complete removal of water vapor.
What role does the vacuum pump’s CFM rating play in the required evacuation time?
A vacuum pump’s CFM (Cubic Feet per Minute) rating indicates its ability to move air volume. A higher CFM pump will evacuate the system more quickly and achieve deeper vacuum levels faster, potentially reducing the overall required vacuuming time for a given system size.
Can I just vacuum for 15 minutes and call it good if the gauge shows vacuum?
No, a brief vacuum period might show a vacuum reading but won’t guarantee complete moisture removal. Moisture can be trapped in oil or desiccant, requiring sustained vacuum to boil off, which a short run cannot achieve, leading to future system issues.
How do I know if my AC system is sufficiently vacuumed and ready for refrigerant?
After reaching the target vacuum (e.g., below 500 microns), shut off the vacuum pump and close the manifold gauges. Monitor the system for 15-30 minutes; if the vacuum pressure remains stable (doesn’t rise), it indicates a successful evacuation and no significant leaks.
What are the dangers of not vacuuming an auto AC system long enough?
Insufficient vacuuming leaves moisture and air in the system. Moisture mixes with refrigerant to form corrosive acids that damage components, while air creates high head pressures, reduces cooling efficiency, and can overwork the compressor, leading to premature failure.