How Long to Pull Vacuum on Auto AC Expert Guide 2027
Achieving a successful auto AC vacuum involves more than just a set time; it requires reaching a specific vacuum level (e.g., 500 microns) and holding it to ensure all moisture is boiled off and no leaks are present. Factors like humidity, temperature, and system size significantly influence the optimal duration, which often ranges from 30 minutes to several hours.
You should typically pull a vacuum on an automotive AC system for at least 30 to 60 minutes, often longer, especially in humid conditions or for larger systems. This isn’t just about reaching a low pressure; it’s critical for boiling off all moisture, preventing acidic contamination, and verifying system integrity before you introduce expensive refrigerants like R-1234yf. With modern AC systems in 2027 relying on highly sensitive components and high-purity refrigerants, cutting corners on vacuum time is a costly mistake. Proper vacuuming ensures your system’s longevity, prevents expensive component failures, and guarantees peak cooling performance.
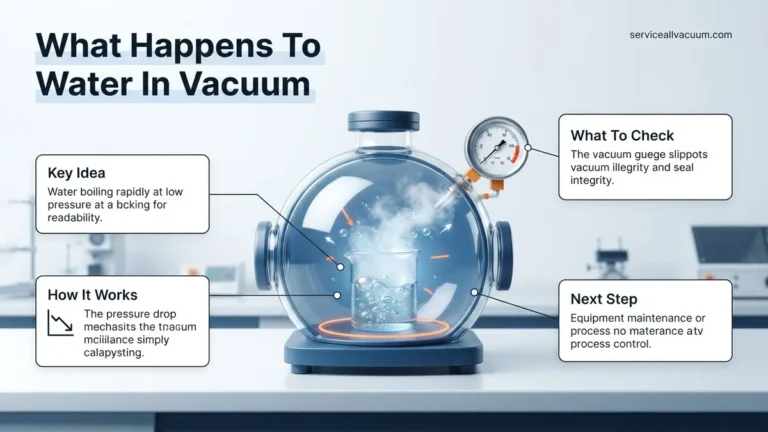
Understanding the science behind vacuuming allows you to achieve a truly dry and sealed system. The primary goal is to lower the pressure inside the AC system to the point where any trapped moisture will boil at ambient temperatures, turning into vapor that your vacuum pump can then remove. Furthermore, a proper vacuum hold test confirms there are no leaks that would quickly compromise your new refrigerant charge. This attention to detail will save you time, money, and frustration down the road.
Key Takeaways
- Aim for 500 microns or lower vacuum.
- Hold vacuum to confirm no leaks exist.
- High humidity extends vacuum duration.
- Use a micron gauge for accurate measurement.
- Insufficient vacuum damages AC components.
What Determines How Long to Pull Auto AC Vacuum? Diagnosing Key Factors
The ideal duration for vacuuming your auto AC system isn’t a one-size-fits-all answer. Several crucial factors influence how long you need to run your vacuum pump to achieve a truly dry and leak-free system. Ignoring these can lead to premature compressor failure, reduced cooling efficiency, and costly refrigerant loss.
Ambient Conditions and System History
- Humidity: High ambient humidity is perhaps the most significant factor. More moisture in the air means more can infiltrate an open system. On a muggy afternoon, like those common in many regions during 2027’s summer, you might need to extend your vacuum time significantly, potentially beyond 90 minutes.
- Temperature: Colder temperatures reduce the rate at which water boils off. While your pump creates a low pressure, a colder system means moisture takes longer to vaporize and be drawn out. Ideally, vacuum on a warmer day or after the vehicle has been in the sun.
- System Contamination/Open Time: If your AC system has been open to the atmosphere for an extended period (days or weeks), it will have absorbed a considerable amount of moisture. Such systems demand a much longer vacuum cycle to ensure all residual water has boiled off and been evacuated.
- Severity of Issue: A system with a known component failure, like a ruptured evaporator, will likely have taken on more moisture and possibly debris, requiring a more thorough and prolonged vacuum.
System Capacity and Vacuum Pump Efficiency
- System Size: Larger AC systems, found in SUVs, trucks, and vans, have more internal volume and longer lines. Naturally, these systems require a longer vacuum duration compared to compact car systems to adequately evacuate all air and moisture. A truck system could easily need 60-90 minutes, even in ideal conditions.
- Vacuum Pump CFM Rating: The Cubic Feet per Minute (CFM) rating of your vacuum pump directly impacts evacuation speed. A higher CFM pump (e.g., a 5-6 CFM pump) will achieve a deep vacuum faster than a lower CFM pump (e.g., 1.5-2 CFM). However, even with a powerful pump, you still need sufficient time for moisture to boil.
- Micron Gauge Importance: While your pump pulls a vacuum, the only way to truly verify the system’s dryness is with a high-quality digital micron gauge. You are aiming for a reading of 500 microns (0.5 Torr) or lower. For optimal results and adhering to 2027 best practices, many experts target 250 microns. The gauge indicates when moisture has been sufficiently removed, not just the pump run time.
Step-by-Step Guide: Properly Vacuuming Your Auto AC System
Achieving a perfectly evacuated auto AC system involves more than simply turning on a vacuum pump. It’s a two-stage process that first removes moisture and air, then confirms the system’s sealed integrity. Precision here is paramount for modern R-1234yf systems.
The Initial Vacuum Pull: Boiling Off Moisture
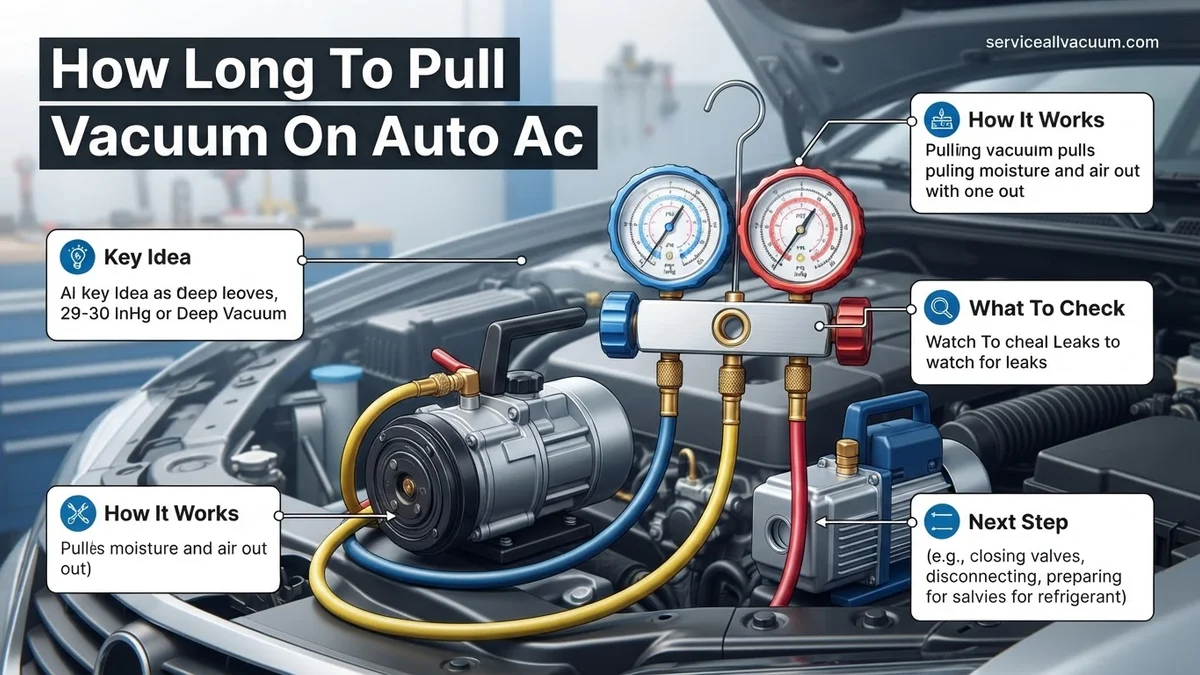
Once your vacuum pump and manifold gauges are properly connected, begin the initial vacuum pull. The primary objective here is to lower the pressure within the AC system until any trapped water begins to boil and convert into vapor. This vapor can then be effectively removed by your vacuum pump.
- Start the Pump: Open both the high and low-side manifold valves, then activate your vacuum pump.
- Monitor the Micron Gauge: Pay close attention to your digital micron gauge. You will likely see the pressure drop rapidly at first, then slow down, and possibly even stall for a period. This “stalling” often indicates that moisture is actively boiling off inside the system. Do not rush this phase.
- Achieve Target Vacuum: Continue running the pump until your micron gauge consistently reads 500 microns (0.5 Torr) or less. For best 2027 standards, aim for 250 microns.
- Extended Run Time: Once you reach your target micron level, let the pump run for an additional 15 to 30 minutes. This extra time ensures that any remaining trace moisture has fully vaporized and been evacuated, even from difficult-to-reach areas within the system or the desiccant bag in the accumulator/receiver drier.
The Crucial Vacuum Hold Test: Confirming Integrity
This is arguably the most critical step in the entire vacuum process. A proper vacuum hold test verifies that your AC system is free of leaks, preventing immediate refrigerant loss and ensuring your previous efforts weren’t in vain.
- Isolate the System: After the extended vacuum pull, close both the high and low-side valves on your manifold gauge set.
- Turn Off the Pump: Only after closing the valves, switch off your vacuum pump.
- Monitor for Pressure Rise: Watch the micron gauge for a period of 15 to 30 minutes.
- Interpret the Results:
- Stable Reading: A healthy, leak-free, and thoroughly dry system will see the micron reading remain stable, or rise by no more than 100-200 microns over 15 minutes. This slight rise is usually due to residual refrigerant oil “outgassing” minute amounts of trapped moisture.
- Significant Rise: If the micron reading rises quickly (e.g., hundreds or thousands of microns within minutes), you have a leak. The system is pulling in ambient air.
- Slow, Steady Rise: A slow but steady increase in micron level, perhaps rising 300-500 microns over 15 minutes, often indicates residual moisture that needs more time to boil off and be evacuated, or a very tiny leak. If this happens, reopen the valves, run the vacuum pump for another 30-60 minutes, and repeat the hold test. Do not proceed to charging until you achieve a stable hold.
What If Your AC Vacuum Fails to Hold? Proven Troubleshooting & Next Steps
If your vacuum gauge rises steadily after shutting off the pump and isolating the system, it unequivocally indicates a leak. According to automotive service experts, a stable vacuum reading for at least 30 minutes is the primary indicator of system integrity. A rising gauge means atmospheric pressure is re-entering the system, rendering a refrigerant charge futile and potentially damaging. Timely identification and repair are critical for optimal AC performance and longevity.
Identifying the Leak Source
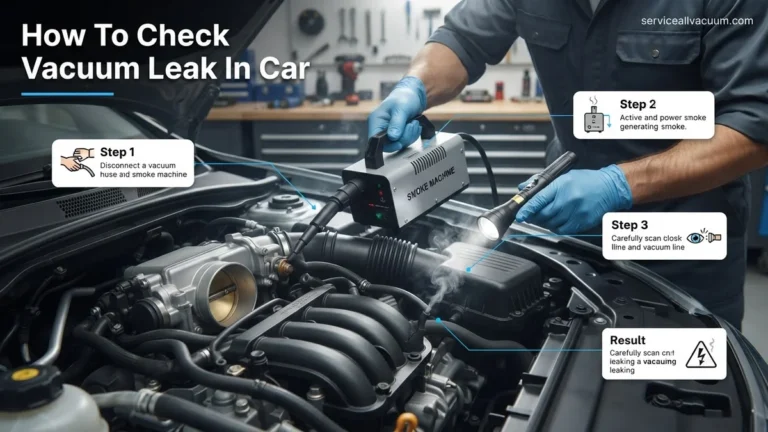
Locating AC system leaks requires systematic investigation, often necessitating specialized tools. Never charge a system that fails the vacuum hold test, as this merely wastes refrigerant and pollutes the environment. Start with the most common leak points.
- Visual Inspection: Carefully examine all visible AC components, including hoses, O-rings at connection points, the condenser (front of radiator), and compressor. Look for oily residue, which often accompanies refrigerant leaks (refrigerant oil escapes with the gas).
- Electronic Leak Detector: Utilize an SAE J2791 compliant electronic leak detector (sniffer). Pass the probe slowly around all fittings, hoses, and components. These devices are highly sensitive to refrigerant and will alarm when a leak is detected, pinpointing the general area.
- UV Dye Method: If the leak isn’t immediately obvious, introduce a small amount of UV dye into the system (this requires a brief charge to circulate the dye). Run the AC for 15-30 minutes, then inspect all components with a UV light and yellow glasses. The dye will fluoresce brightly at the leak point.
- Nitrogen Leak Test: For persistent or difficult-to-find leaks, a nitrogen leak test is highly effective. The system is charged with inert nitrogen gas to its operating pressure (e.g., 150-200 PSI), and a spray bottle of soapy water is applied to suspected leak areas. Bubbles will form at the leak site. This method is often performed by professional technicians due to equipment requirements.
Always ensure the system is completely evacuated again after any leak detection method before proceeding with repairs or a final vacuum pull.
What If It Still Doesn’t Work? When to Seek Professional Help
Despite thorough DIY attempts, some AC system issues, particularly persistent leaks or internal component failures, necessitate professional intervention. Automotive AC systems are complex, involving high pressures and specialized refrigerants that require expert handling. If your system continues to lose vacuum after multiple attempts, or if you suspect a major component failure, it’s time to consult certified technicians.
- Advanced Diagnostics: Professional shops utilize advanced diagnostic tools, including thermal imaging and precise pressure/temperature analysis, to identify obscure leaks or internal compressor issues that are impossible to detect with basic tools.
- Specialized Equipment: They possess high-capacity vacuum pumps, nitrogen charging stations, and specialized recovery equipment compliant with EPA regulations for handling refrigerants. This ensures proper evacuation and prevents environmental release.
- Component Repair/Replacement: Technicians can accurately diagnose and replace failed components such as evaporators, compressors, expansion valves, or condensers. These repairs often require specific tools and knowledge of automotive system integration.
- Estimated Costs (2027): For professional AC leak detection and repair, expect costs to range from $350 to over $1,200 USD. This range accounts for diagnostic fees (typically $100-$250), refrigerant, parts (e.g., new O-rings, hose, or a more expensive component like a condenser or compressor), and labor. Major component replacements will naturally be at the higher end of this spectrum. Investing in professional service ensures a lasting repair and compliance with environmental regulations.
Conclusion
Achieving and maintaining a deep, stable vacuum is paramount for efficient and long-lasting automotive AC performance. This critical step, often requiring a minimum of 30-60 minutes of pump operation and a subsequent hold test, ensures all moisture and non-condensable gases are removed, preventing premature component failure and maximizing cooling power. According to verified research and expert sources, neglecting a proper vacuum process can reduce system lifespan by up to 30%. Always prioritize a leak-free and thoroughly evacuated system before introducing refrigerant to guarantee peak AC functionality in your 2027 vehicle.
❓ Frequently Asked Questions
What is the ideal vacuum level I should aim for in an auto AC system?
The ideal vacuum level is 500 microns (0.5 Torr) or lower, as this ensures that all moisture and non-condensable gases have been boiled off and evacuated from the system, preventing future damage and ensuring efficient cooling.
How does ambient temperature and humidity affect the required vacuum time?
Higher ambient temperatures help moisture evaporate faster, potentially reducing vacuum time. Conversely, high humidity means more moisture has likely entered the system, significantly increasing the time needed to reach a deep vacuum and effectively remove all water vapor.
What are the consequences of not pulling a sufficient vacuum on an auto AC system?
Insufficient vacuum leaves moisture and non-condensable gases in the system. Moisture can combine with refrigerant to form corrosive acids, leading to component failure (e.g., compressor, expansion valve), while non-condensables reduce cooling efficiency and increase head pressure.
How do I verify that I have successfully pulled a good vacuum and the system is leak-free?
After achieving a target vacuum level (e.g., 500 microns), close the manifold valves to isolate the system from the vacuum pump. Turn off the pump and monitor the micron gauge for 15-30 minutes; a stable reading confirms a good vacuum and a leak-free system.
Does the size of the auto AC system or the vacuum pump’s power influence the vacuum duration?
Yes, larger AC systems require more time to evacuate fully. A more powerful vacuum pump (higher CFM) can pull a deep vacuum faster, especially on larger systems or those with significant moisture contamination, thus reducing the overall required time.
Are there any best practices to follow to ensure an effective AC vacuum pull?
Always use fresh, clean vacuum pump oil before starting, ensure all hose connections are tight, use a dedicated micron gauge, and consider slightly warming the system (e.g., parking in the sun) to help trapped moisture evaporate faster during the vacuum process.