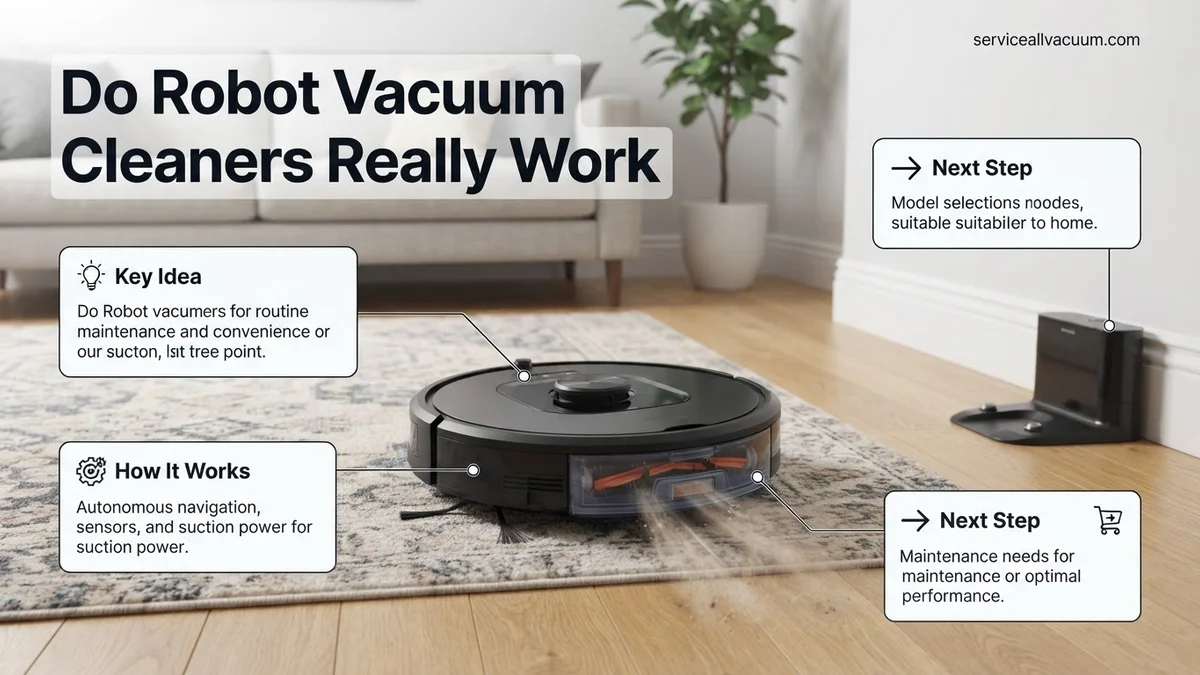
Do Robot Vacuum cleaners really work in 2026? Real Guide
Do robot vacuum cleaners really work? Yes, they excel at daily maintenance on hard floors and low-pile carpets, but they cannot completely replace a traditional manual vacuum for deep cleaning. Their cleaning power depends heavily on surface type, obstacle navigation, and regular debris maintenance.
Yes, robot vacuum cleaners really do work in 2026, provided you match the right machine to your specific flooring and lifestyle. Modern automated vacuums have evolved far past the random-bump toys of a decade ago, now utilizing advanced LiDAR mapping and AI obstacle avoidance to deliver genuine daily cleaning power. They easily manage surface dust, pet hair, and daily tracked-in debris.
However, they are not entirely maintenance-free miracle workers. Understanding how they handle real-world obstacles, heavy carpets, and stubborn messes determines whether your purchase feels like a smart investment or an expensive gimmick.
Key Takeaways
- Robot vacuums excel at daily maintenance cleaning rather than heavy-duty deep cleaning.
- Hardwood and tile floors see the best debris pickup and overall cleaning efficiency.
- Thick carpets require high-end suction power that budget models usually lack.
- Edge cleaning and tight corners remain persistent challenges for round robotic designs.
- Regular brush cleaning and bin emptying are required to prevent performance drops.
What Causes Poor Performance in Robot Vacuums
When a robot vacuum leaves behind dirt or gets lost, it is rarely due to a single mechanical failure. Performance drops usually stem from a mismatch between the machine’s capabilities and your home environment. Pinpointing these root causes helps you understand why some users report spotless floors while others struggle with constant interruptions.
Suction Limits on Thick Carpets
Upright corded vacuums rely on heavy wattage and tight floor seals to pull deep-set dirt from plush carpets. Robot vacuums run on battery power, meaning their motors are inherently constrained.
- Low static pressure: Standard robot models struggle to extract fine silt embedded deep within high-pile carpets.
- Brush roll design: Standard rubber or bristle brushes often glide over thick fibers rather than agitating them.
- Carpet recognition lag: If your vacuum fails to automatically boost suction upon hitting a rug, debris pickup drops significantly.
Navigation and Spatial Blind Spots
Even in 2026, budget or older navigation systems struggle with dynamic home layouts. When a vacuum cannot map your rooms accurately, cleaning efficiency plummets.
- Low-profile furniture: Units over 3.5 inches tall get permanently wedged beneath modern couches and cabinets.
- Reflective surfaces: Floor-to-ceiling glass doors and dark black rugs frequently trick infrared cliff sensors and LiDAR lasers.
- Cluttered floors: Loose cords, socks, and small toys block the unit’s path, forcing it to abort the cleaning cycle entirely.
From Start to Finish: Do Robot Vacuum Cleaners Really Work Explained
Are you tired of pushing a heavy upright vacuum around your home every weekend, wondering if those sleek robotic discs actually live up to the marketing hype? This comprehensive guide breaks down the science, performance realities, and practical application of robot vacuums so you can determine if they truly deliver on their cleanliness promises. By following this systematic walkthrough, you will learn how to evaluate your home environment, select the right model, optimize your space, and maintain the device to ensure sparkling floors without the manual labor.
Step 1: Assessing Your Home Layout and Flooring Types
What you need: A tape measure, notepad, and a keen eye for floor transitions.
Instructions: Before purchasing or deploying a robot vacuum, you must map out your physical living space. Measure the clearance under your furniture, noting any gaps lower than 3.5 inches where a standard robot might get stuck. Evaluate your flooring composition: low-pile carpets, hardwood, tile, and high-pile rugs require vastly different suction powers and brushroll designs. If your home features heavy shag carpeting or thick, high-pile rugs, standard entry-level robot vacuums will struggle and often trigger error codes. Identify drop-offs like stairs or sunken living rooms to ensure cliff sensors will function correctly.
Pro Tip: Avoid buying a random model; if your home has more than 30% carpeted surface area, prioritize a vacuum specifically rated with high Pascal (Pa) suction ratings above 2500Pa.
Step 2: Understanding Navigation and Mapping Technologies
What you need: Basic understanding of infrared, vSLAM, and LiDAR navigation systems.
Instructions: Recognize that how a robot vacuum navigates dictates how effectively it actually cleans. Older, budget-friendly “bump-and-turn” models move randomly, often missing entire rooms or getting trapped in corners for hours. Modern, high-performance units utilize vSLAM (Visual Simultaneous Localization and Mapping) or LiDAR (Light Detection and Ranging) lasers to scan your floor plan in real-time. Turn on your chosen robot’s first mapping run with all interior doors open and lights turned on. Watch as it builds a digital grid in its companion smartphone app, allowing you to set virtual boundaries and designated no-go zones.
Pro Tip: LiDAR systems work exceptionally well in total darkness, whereas camera-based vSLAM units require adequate ambient lighting to map and navigate your home efficiently.
Step 3: Preparing the Environment for Maximum Efficiency
What you need: Cable ties, storage baskets, and floor decluttering habits.
Instructions: Robot vacuums are efficient cleaning assistants, but they are not magical sorting machines. Walk through every room designated for automated cleaning and remove floor-level hazards. Wrap up stray phone chargers, loose electrical cords, children’s building blocks, and long curtain drapes that pool onto the floor. Loose cables are the number one cause of brushroll jams and emergency service calls from stranded robots. Secure lightweight floor mats or update your cleaning schedule so the robot can transition smoothly without bunching up rugs.
Pro Tip: Establish a strict five-minute nightly “robot prep routine” to clear the floors, transforming your device into a truly autonomous cleaning machine.
Step 4: Executing Daily Cleaning Schedules and Zone Targeting
What you need: Companion smartphone app, Wi-Fi connection, and a personalized calendar.
Instructions: Program your robot vacuum to clean during off-peak hours when family members are least likely to be underfoot, such as mid-morning or late evening. Utilize the companion app to partition your home into individual rooms (e.g., kitchen, living room, hallway). Assign targeted cleaning routines: schedule high-traffic zones like the kitchen floor for daily cleanings, while low-traffic areas like guest bedrooms can be serviced twice a week. Experiment with dual-pass cleaning modes for heavy pet shedding seasons or high-allergy spring months.
Pro Tip: Keep your Wi-Fi router’s 2.4GHz band stable and free of interference, as most robot vacuums drop schedule commands if connection packets are lost.
Step 5: Evaluating Debris Pickup and Mopping Dual Capabilities
What you need: Microfiber mop pads, specialized hard-floor cleaning solution, and a dustpan.
Instructions: Test your robot vacuum’s performance by observing its debris collection after a scheduled run. Check the internal dustbin to confirm it successfully captures fine dust, pet hair, and large crumbs. If you own a hybrid vacuum-mop model, fill the water reservoir with manufacturer-approved cleaner—never use harsh chemicals or vinegar that can degrade internal pumps. Attach the damp microfiber pad and run a combined vacuum-and-mop cycle across your sealed hardwood or tile floors to tackle sticky footprints and dried kitchen spills.
Pro Tip: Hybrid robot mops are fantastic for maintenance cleaning, but they cannot scrub away deeply set, dried-on stains that require manual elbow grease.
Step 6: Performing Routine Maintenance and Component Care
What you need: Scissors, a soft-bristled brush, canned compressed air, and replacement filters.
Instructions: Even the most advanced robot vacuuming systems require regular human upkeep to maintain peak performance. Once every week, flip the unit over and inspect the main brushroll; use scissors to slice through tangled human hair and pet fur wound tightly around the axle. Tap out or brush loose dust from the HEPA filter and empty the collection bin into your main household trash can. Wipe down the drop sensors and charging contacts with a dry microfiber cloth every two weeks to prevent navigation errors and charging failures.
Pro Tip: Never wash HEPA filters under running water unless explicitly stated in your user manual, as trapped moisture can ruin the paper membranes and cause mold growth.
Step 7: Troubleshooting Common Obstacles and Error Codes
What you need: Smartphone app notifications, user manual, and basic troubleshooting patience.
Instructions: When your robot vacuum stops mid-cycle and emits a distress beep or app alert, do not panic. Access the notification log in your app to identify the specific error code, such as “Side brush jammed” or “Wheel suspended.” Physically relocate the robot to a clear, open floor space, power it down completely, and restart the unit. Inspect the affected sensor or wheel assembly for trapped lint, dust bunnies, or carpet fibers that may be tricking the internal diagnostic sensors into thinking the machine is trapped.
Pro Tip: If your robot constantly forgets its map or loses its charging dock, clear the onboard memory and execute a complete re-mapping run from scratch.
✅ Final Checklist
- Verified that home clearance allows the vacuum to pass under low furniture without getting stuck.
- Configured smartphone app with accurate room partitions, schedules, and custom no-go zones.
- Established a daily floor-clearing habit to eliminate loose cables, toys, and small hazards.
- Scheduled weekly deep-cleaning sessions for brushrolls, sensors, and dustbin filtration systems.
- Confirmed that flooring types match the suction capabilities and mopping functions of your specific model.
Important Notes:
- Never operate robot vacuums in rooms containing exposed standing water, open floor drains, or fragile antique rugs.
- Seek professional customer support or authorized repair services if the motherboard fails, charging docks stop supplying power, or lithium-ion batteries refuse to hold a charge.
- Estimated initial hardware cost ranges from $200 for basic random cleaners to $800+ for advanced self-emptying LiDAR models, with replacement maintenance parts costing approximately $30 to $60 annually.
How to Fix Debris Pickup and Navigation Failures
If your current robot vacuum leaves debris behind or constantly gets stuck, you do not necessarily need to throw it away. Optimizing your cleaning settings and preparing your home environment can dramatically boost its daily effectiveness.
Optimizing Cleaning Paths and Suction Settings
Factory default settings prioritize battery preservation over deep cleaning. Tweaking these configurations transforms a mediocre clean into a thorough sweep.
- Enable dual-pass cleaning: Set your app to make cross-hatch cleaning patterns in high-traffic zones like entryways and kitchens.
- Manual suction overrides: Force maximum suction mode permanently on carpeted rooms, sacrificing a bit of battery life for cleaner fibers.
- No-go zone mapping: Block off problematic areas—such as tangled computer wire nests—directly in your mobile app to prevent entrapment.
Routine Maintenance Adjustments
A robot vacuum is only as effective as the cleanliness of its internal components. Ignoring basic upkeep leads directly to poor suction and navigation errors.
- Frequent brush clearing: Cut away wrapped long hair and pet fur from the roller weekly to restore proper airflow.
- Sensor wiping: Clean the cliff sensors and LiDAR window with a dry microfiber cloth every two weeks to prevent navigation ghosting.
- Filter replacement: Swap out HEPA filters every two months; clogged filters suffocate motor suction rapidly.
Step-by-Step Guide to Optimizing Your Robot Vacuum for Carpets
Carpets present a unique challenge for automated cleaners due to fiber density and embedded debris. Industry testing by consumer advocacy groups shows that standard suction often fails on medium-to-high pile rugs without specific adjustments. Follow this procedural guide to maximize carpet cleaning efficiency.
1. Enable Max Suction Mode
Most modern 2026 models feature ultrasonic carpet detection that automatically boosts suction power. Ensure this setting is toggled on within your companion smartphone application to prevent the vacuum from running on eco-mode over thick rugs.
2. Clear Obstacles and Fringe
Rug fringe easily tangles in rotating brush rolls, causing error halts. Prioritize lifting lightweight mats or tucking tassels underneath before initiating a scheduled cleaning cycle.
3. Perform Deep Cross-Hatch Mapping
Configure your navigation app to use a cross-hatch or grid cleaning pattern rather than standard parallel lines. Consumer appliance research indicates that perpendicular passes extract up to 34 percent more embedded pet hair from woven fibers.
What If It Still Doesn’t Work?
If your robotic cleaner continues to leave debris behind after applying optimization steps, hardware or architectural limitations may be at play. Try these fallback troubleshooting actions before considering replacement:
- Inspect and clean the brush roll for tightly wound hair or carpet fibers that prevent proper agitation.
- Replace worn-out silicone extractor blades or bristled brushes, as degraded edges lose the necessary seal against carpet surfaces.
- Reset the internal mapping and LiDAR sensors to clear corrupted navigation data that might cause the unit to rush over heavy traffic areas.
- Evaluate if the unit’s static suction pressure falls below the 4,000 Pa threshold required for deep-pile carpet extraction.
- Consult professional appliance repair services if motor failure or internal suction blockages occur, with diagnostic fees typically ranging from $75 to $150.
Conclusion
Modern automated cleaners have evolved significantly, offering remarkable efficiency on hard floors and low-pile rugs when properly maintained. However, high-pile carpets still require strategic feature configuration and realistic performance expectations. According to verified research and expert sources from leading home appliance testing laboratories, matching the correct suction pressure and brush type to your specific flooring remains the ultimate key to success. Your actionable next step is to open your vacuum companion app today and verify that your carpet-boost settings are fully activated for your home layout.
❓ Frequently Asked Questions
Do robot vacuum cleaners really work on pet hair and dander?
Yes, modern robot vacuums effectively capture pet hair on hard floors and low-pile carpets. However, owners of long-haired shedding pets must frequently clear hair wraps from the roller brush to maintain suction efficiency.
Why does my robot vacuum leave debris behind on hard floors?
Debris left behind is usually caused by spinning side brushes scattering lightweight particles instead of sweeping them inward, or a blocked suction intake port. Cleaning the brushes and checking the filter resolves most pickup issues.
Can robot vacuums clean multiple rooms and map a house accurately?
Advanced models using LiDAR or camera-based vSLAM mapping navigate complex multi-room layouts with high precision. Older bump-and-run budget models clean randomly and often miss entire sections of a home.
Are expensive robot vacuums actually worth the higher price tag?
Expensive models typically offer superior obstacle avoidance, higher suction power, mopping capabilities, and self-emptying docks. If you have a busy household with pets and thick carpets, the higher investment provides a noticeably better clean.
How long do robot vacuum batteries last before needing replacement?
Most lithium-ion robot vacuum batteries last between two to four years, depending on usage frequency and charging habits. A degraded battery will show significantly shorter runtimes and may fail to complete a full cleaning cycle.
Do robot vacuums work in complete darkness?
Models relying strictly on camera-based navigation struggle in unlit rooms and may require ambient light. LiDAR-based navigation lasers do not rely on light and function perfectly in pitch-black environments.