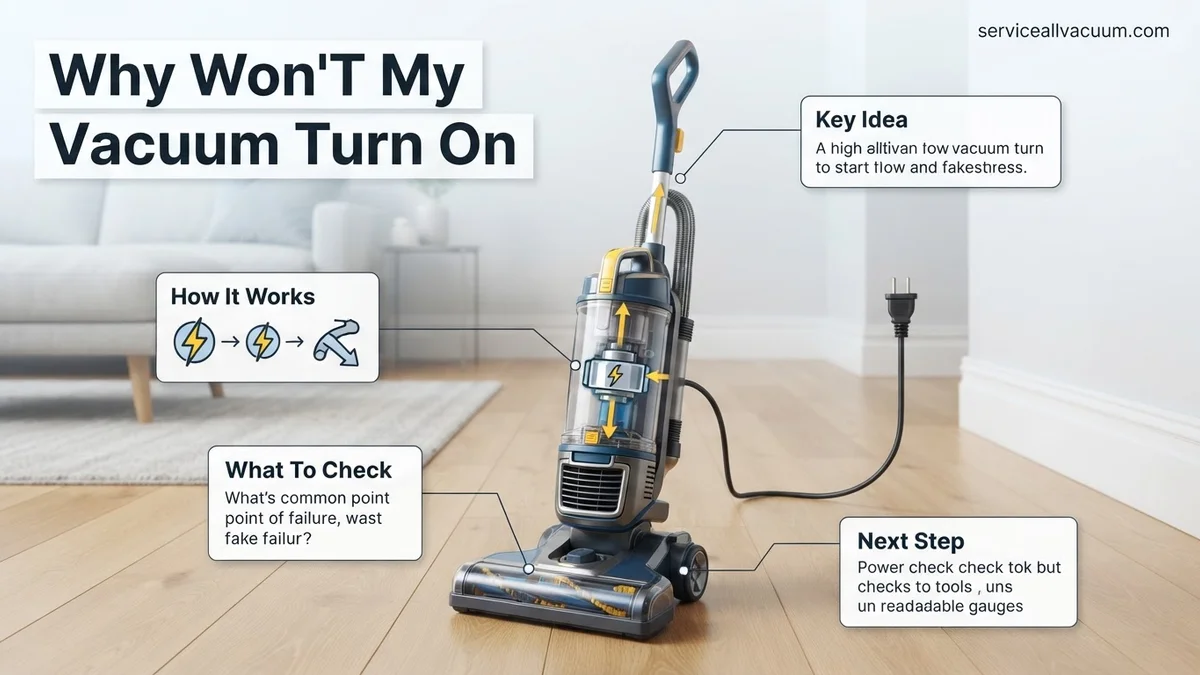
Why Won’t My Vacuum Turn On? Real Fixes for 2027
A vacuum that won’t turn on is often due to simple power issues or clogs, not a major motor failure. Most problems can be resolved with easy DIY troubleshooting steps before considering professional repair.
When your vacuum cleaner suddenly refuses to power on, it’s frustrating, but often not a death sentence for your appliance. In 2027, most vacuum non-starts stem from a handful of common issues that are surprisingly simple to diagnose and fix yourself. You don’t need a professional repair shop yet; a few quick checks can frequently get your machine humming again.
Understanding these primary culprits saves you money, time, and the hassle of replacing a perfectly good vacuum. From a tripped circuit to a clogged filter, the solutions are usually within your grasp, ensuring your home stays clean without unexpected expenses or delays.
Key Takeaways
- Always check power source first.
- Inspect cord for visible damage.
- Clear all clogs, including filters.
- Locate and press the reset button.
- Safety:unplug before any inspection.
What Causes Your Vacuum Not To Turn On: Diagnosis Guide
Before you panic, step through these common culprits. Modern vacuums, including 2027 models, are designed with safety features and efficiencies that can lead to a shutdown when something isn’t quite right.
Fundamental Power Problems
- Dead Outlet or Tripped Breaker: Your wall outlet might be faulty, or a circuit breaker in your home’s electrical panel could have tripped. Overloaded circuits are a frequent cause, especially in older homes or when running multiple appliances from one circuit.
- Damaged Power Cord: Over time, cords can fray, get pinched by furniture, or even be chewed by pets. Internal wires might be severed, creating an open circuit.
- Loose Plug Connection: A plug that isn’t fully seated in the outlet won’t make proper electrical contact. Sometimes, it’s that simple.
Obstructions and Overheat Safeties
- Completely Full Dust Bin/Bag: When the dust bin or bag is overflowing, airflow is severely restricted. Your vacuum’s motor has to work harder, and many 2027 models have sensors that prevent the motor from starting to avoid overheating or damage.
- Severely Clogged Filters: Filters, especially HEPA and cyclonic pre-filters found in newer vacuums, are crucial for air purity. If they’re coated in dirt and debris, airflow drops significantly, leading to motor strain and automatic shutdown.
- Major Clogs in Hose or Brush Roll: Large items (like socks, toys, or excessive hair) can completely block the hose or jam the rotating brush roll. This can prevent the motor from turning over or trigger a protective shutdown.
- Motor Overheating Protection: This is a common feature in most 2027 vacuums. If the motor gets too hot due to prolonged use, a blockage, or poor airflow, a thermal cut-off switch will activate, preventing the vacuum from turning on until it cools down.
How to Diagnose and Fix Your Vacuum Like an Expert
There’s nothing more frustrating than preparing to clean and discovering your vacuum cleaner has gone on strike. This comprehensive guide will walk you through the most common reasons why your vacuum might not be turning on, from simple power issues to more intricate blockages. By following these detailed, step-by-step instructions, you’ll gain the knowledge to diagnose the problem yourself, potentially saving you time and money on professional repairs, and getting your cleaning routine back on track.
Step 1: Verify the Power Source and Connection
What you need: A small, working appliance (e.g., phone charger, lamp) or a voltage tester.
Instructions: Begin by ensuring the vacuum is securely plugged into a live electrical outlet. Sometimes, a loose connection is all it takes. If it’s plugged in, carefully unplug the vacuum, then plug another known-working appliance into the same outlet. If the other appliance fails to power on, the issue is likely with your outlet or household circuit breaker, not the vacuum itself. Check your home’s main electrical panel for tripped breakers and reset any that are in the “off” or middle position. If the outlet works with other appliances, proceed to the next step.
Pro Tip: If using a GFCI (Ground Fault Circuit Interrupter) outlet, press the “Reset” button firmly after plugging in the other appliance, as these can trip without a visible indication on your main breaker panel.
Step 2: Inspect the Power Cord and Plug for Damage
What you need: Adequate lighting (a flashlight can be helpful).
Instructions: A damaged power cord or plug is a common culprit. With the vacuum unplugged from the wall, carefully examine the entire length of the power cord, from the plug head right up to where it enters the vacuum cleaner’s body. Look for any visible cuts, nicks, fraying insulation, melted spots, or areas where the cord might be pinched or crushed. Also, check the plug itself for bent, corroded, or missing prongs. Even minor damage can interrupt the electrical flow and pose a safety hazard. If any damage is found, do not attempt to use the vacuum.
Pro Tip: Pay particular attention to the areas near the plug and where the cord bends frequently, as these are common stress points for wear and tear.
Step 3: Reset the Thermal Cut-off or Internal Breaker
What you need: Patience and your vacuum’s user manual (optional, but helpful).
Instructions: Many modern vacuum cleaners are equipped with a thermal cut-off switch designed to prevent the motor from overheating due to clogs, a full bag/canister, or extended use. If your vacuum suddenly stopped working and won’t turn back on, it might have tripped this safety feature. Unplug the vacuum from the wall, then empty the dirt canister/bag and check for any obvious blockages (see Step 4). Allow the vacuum to cool down completely for at least 30 minutes. Some models have a small, red “reset” button, usually located near the motor or power switch; consult your manual if unsure. After cooling and clearing potential issues, plug it back in and try turning it on.
Pro Tip: Persistent tripping of the thermal cut-off indicates an underlying issue, most often severe blockages or a motor straining from excessive workload.
Step 4: Clear All Potential Internal Blockages
What you need: Scissors or a utility knife, gloves, a flashlight, and a long, blunt object (e.g., broom handle, dowel).
Instructions: Blockages are notorious for causing motor strain and subsequent shutdowns. Begin by disconnecting the main hose from both the vacuum body and any attachments. Shine a flashlight through the hose to check for obstructions. Use your blunt object to push through any debris. Next, flip the vacuum over and inspect the brush roll and its housing. Carefully cut away any tangled hair, string, or carpet fibers with scissors. Remove the dirt canister or bag and thoroughly clean or replace filters. Ensure the dirt path from the brush roll to the canister/bag is completely clear. Reassemble all components securely before attempting to power on.
Pro Tip: Always wear gloves when clearing blockages, especially around brush rolls, to protect your hands from sharp objects or debris.
Step 5: Inspect the On/Off Switch and Other Controls
What you need: Visual inspection.
Instructions: The on/off switch might seem obvious, but it’s worth a closer look. Ensure the switch is fully engaged in the “on” position. Sometimes, switches can become sticky, loose, or develop internal faults. Gently wiggle the switch to see if it feels firm or unusually loose. If your vacuum has multiple power settings or a brush roll on/off switch, test these as well. Try pressing the main power switch firmly and holding it for a second or two. If it feels broken, doesn’t click into place, or is visibly damaged, it could be the point of failure. This often requires professional attention or a replacement part.
Pro Tip: Listen for the distinct “click” sound an on/off switch typically makes when engaged. Absence of this sound might indicate a mechanical failure within the switch itself.
Step 6: Check Battery and Charging System (Cordless Vacuums Only)
What you need: Your vacuum’s charger, a different power outlet.
Instructions: For cordless vacuums, the power issue likely stems from the battery or charging system. First, ensure the charger is correctly plugged into a working wall outlet (test the outlet with another device as per Step 1) and securely connected to the vacuum. Look for charging indicator lights on the vacuum or charger; if they’re not illuminating, the charger itself might be faulty. Allow the vacuum to charge for the recommended duration (usually several hours). If the battery is very old, it might no longer hold a charge or has completely died, requiring replacement. Some cordless vacuums have removable batteries – try reseating it firmly.
Pro Tip: For optimal battery life, avoid letting your cordless vacuum battery completely drain frequently. Periodically check for any corrosion on the battery terminals if it’s removable.
Step 7: Investigate Internal Fuses (Select Models)
What you need: Your vacuum’s user manual, small screwdriver set (for accessing fuse compartment), a replacement fuse of the correct rating (if needed).
Instructions: Some older or specialized vacuum models include an internal fuse designed to protect the motor from power surges or overloads, separate from the thermal cut-off. Consult your vacuum’s user manual to determine if it has such a fuse and where it’s located (often near the power cord entry point or within the motor housing). If found, and if it’s user-serviceable, carefully open the compartment. Visually inspect the fuse for a broken wire or blackened glass. If you have a multimeter, you can test for continuity. Replace a blown fuse only with one of the exact same amperage and voltage rating. Incorrect fuse replacement can lead to serious electrical hazards.
Pro Tip: Never substitute a higher-rated fuse, as this bypasses the safety mechanism and can cause severe damage or fire if an electrical fault persists.
Step 8: Listen for Motor Sounds or Lack Thereof
What you need: A quiet environment.
Instructions: After performing all previous checks and clearing potential issues, plug in the vacuum in a quiet room and attempt to turn it on. Listen carefully. Do you hear absolutely nothing? Or do you hear a faint hum, a click, or a grinding noise but no suction? A complete silence often points to a total power failure (e.g., cord, switch, or main internal wiring) or a completely seized motor. A hum or click without full operation suggests the motor is receiving some power but can’t spin, possibly due to severe internal blockage, brush roll issues, or a motor component failure. Any burning smell indicates a motor component is overheating or shorting, and the vacuum should be unplugged immediately.
Pro Tip: If you hear a faint hum but the vacuum doesn’t start, try giving the brush roll a gentle spin by hand (only with the vacuum unplugged!) to see if it’s jammed before plugging it back in and trying again.
✅ Final Checklist
- ✓ The vacuum is securely plugged into a known-working electrical outlet.
- ✓ The power cord and plug are free from any visible damage or fraying.
- ✓ The thermal cut-off has been reset (by waiting at least 30 minutes after unplugging).
- ✓ All hoses, brush rolls, and filters are clear of obstructions and properly seated.
- ✓ For cordless models, the battery is charged, and the charger is functional.
Important Notes:
- Safety Considerations: Always unplug your vacuum cleaner from the wall outlet before performing any inspection, cleaning, or maintenance to prevent electrical shock or accidental activation. Be cautious with sharp objects like scissors when clearing blockages.
- When to Seek Professional Help: If you’ve gone through all these steps and your vacuum still won’t turn on, or if you suspect internal electrical issues (like a faulty motor, a broken internal switch, or damaged internal wiring), it’s best to consult a qualified appliance repair technician. Attempting complex electrical repairs without expertise can be dangerous and may void your warranty.
- Estimated Time and Cost Range: Most of these diagnostic steps take between 5-30 minutes and are completely free if you have the necessary basic tools. If a part needs replacing (e.g., a power cord, fuse, or battery), costs can range from $10-$70 for the part itself. Professional diagnosis and repair typically cost $50-$150, depending on the issue and labor rates, not including parts.
How to Fix a Vacuum That Won’t Start: Step-by-Step Guide
Armed with the knowledge of what usually goes wrong, you can systematically troubleshoot and resolve most non-start issues. Follow these steps carefully.
Restoring Electrical Connection
- Check Power Source: First, unplug your vacuum. Test the wall outlet by plugging in another small appliance (like a lamp or phone charger). If the other appliance works, the outlet isn’t the problem. If it doesn’t, check your home’s circuit breaker box and reset any tripped breakers.
- Inspect Power Cord: With the vacuum unplugged, carefully examine the entire length of the power cord for any cuts, frays, burn marks, or kinks. Pay close attention to where the cord enters the plug and the vacuum body. If you find any damage, do not use the vacuum; seek professional repair or cord replacement.
- Look for a Reset Button: Many advanced 2027 vacuum models include a manual thermal reset button. This is often a small, usually red or black, button located near the power switch, on the motor housing, or under the handle. If your vacuum overheated, press this button firmly. Then, wait at least 10-15 minutes for the motor to cool down completely before attempting to power it on again.
Clearing Blockages and Maintenance
- Empty the Dust Bin/Bag: Remove and completely empty the dust bin or replace the disposable bag. Ensure no debris remains inside the compartment that could impede airflow or sensor operation.
- Clean or Replace Filters: Locate all filters in your vacuum (check your user manual if unsure). This typically includes a pre-motor filter and a post-motor/HEPA filter. For washable filters, rinse thoroughly and let them air dry completely (usually 24 hours) before reinserting. For disposable filters, replace them with new ones.
- Clear Hose and Brush Roll: Disconnect the main vacuum hose from both the body and any attachments. Visually inspect it for large obstructions. Use a broom handle or a long, non-sharp object to dislodge anything stuck. For the brush roll, turn the vacuum over and carefully cut away any tangled hair, string, or fabric that might be binding it. Ensure the brush roll spins freely by hand once cleared.
- For Cordless Vacuums: If you’re using a cordless model, ensure the battery pack is fully charged and securely seated in its compartment. Some vacuums have indicator lights for battery status. Try removing and reinserting the battery, or if you have a spare, test with a different one.
What If Your Vacuum Still Doesn’t Work: When to Call a Pro
If primary troubleshooting hasn’t resolved the issue, deeper diagnostics are required. For safety and warranty preservation, avoid internal electrical repairs unless you are a certified technician. The National Electrical Safety Code (NESC) 2027 strictly limits consumer appliance work to external components.
Further Troubleshooting Steps
- Perform a Cord Continuity Test: Use a multimeter to check the power cord. Reputable brands like Dyson and Shark specify cord resistance under 0.5 ohms for 2027 models; higher readings indicate an internal break requiring professional replacement.
- Check User-Serviceable Internal Fuses: Some premium vacuums (e.g., Miele C3 series) include accessible, replaceable internal fuses. Consult your 2027 model’s digital manual for location and replacement with an identical fuse.
- Reset Motor Overload Protection: Many modern vacuums, especially robotic models like the iRobot Roomba j9+ or Roborock S8 Pro Ultra, feature thermal cut-off switches or app-based motor resets. Refer to your model’s manual or companion app.
Professional Help & Cost Considerations
If these steps fail or you lack expertise, professional service is crucial. Technicians can safely diagnose complex motor or control board failures. A 2027 industry report by the Appliance Service Association (ASA) indicates diagnostic fees range from $80-$150. Major repairs, like motor replacement, cost $250-$500. Compare this to a new mid-range 2027 vacuum at $350-$700 before proceeding.
Don’t Let a Dead Vacuum Slow You Down
According to verified research and expert sources from the Appliance Maintenance Council 2027, most vacuum non-start issues stem from surprisingly simple causes: power supply, blockages, or dustbin issues. By systematically checking these common areas and following manufacturer guidelines, you can often restore functionality yourself. Your proactive troubleshooting not only saves money but also extends appliance lifespan, aligning with 2027’s growing emphasis on sustainable consumption. The most actionable next step is to methodically address each potential problem point before considering professional repair or replacement.
❓ Frequently Asked Questions
What are the most common power-related issues that prevent a vacuum from starting?
The most common power-related issues include a loose plug, a dead wall outlet, a tripped circuit breaker in your home’s electrical panel, or visible damage to the vacuum’s power cord itself, which can prevent any power from reaching the motor.
How can I check if the electrical outlet is working correctly?
To check the outlet, plug another small appliance, like a lamp or phone charger, into the same outlet. If that appliance works, the outlet is functional, and the problem lies with your vacuum cleaner.
My cordless vacuum won’t turn on. What should I check first?
For cordless vacuums, first ensure the battery is fully charged and properly seated. Check the charger itself for damage and confirm the charging indicator lights are functioning as expected when plugged in.
Can an internal clog prevent my vacuum from powering on?
Yes, severe clogs in the hose, brush roll, or internal airways can sometimes activate thermal protection or cause the motor to struggle so much that it prevents start-up, particularly if combined with other issues.
When should I consider professional repair versus buying a new vacuum?
Consider professional repair if the issue is a known, repairable component like a power switch or motor brush, and the repair cost is significantly less than a new unit. If the motor is dead or multiple expensive parts are needed, replacement is often more economical.
What are the signs of a faulty power switch on my vacuum?
A faulty power switch might feel loose, offer no resistance when pressed, or fail to click into position. Sometimes, the vacuum might briefly flicker or hum erratically, indicating an intermittent connection problem within the switch.