Can I Use a Vacuum to Clean My PC? Best Expert Guide 2026
No, you should not use a standard household vacuum to clean your PC because they generate massive amounts of static electricity that can permanently destroy sensitive components. Instead of risking your motherboard or GPU, use compressed air dusters and electronic-safe cleaning tools to safely remove dust.
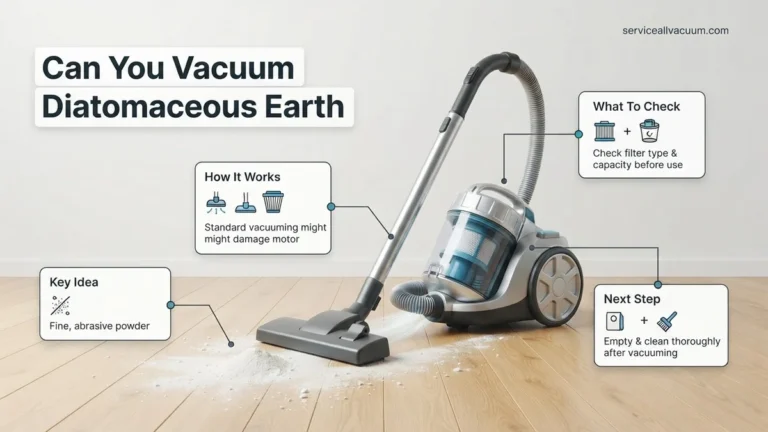
The short answer is no: you should never use a standard household vacuum cleaner to clean your PC. While it might seem like a quick way to suck up dust bunnies from your graphics card and CPU cooler, standard vacuums generate a massive amount of electrostatic discharge (ESD) that can instantly fry sensitive silicon.
As we navigate through 2026, modern PC components like PCIe 5.0 GPUs and high-end motherboards are more densely packed and sensitive to voltage spikes than ever before. Reaching for that upright vacuum or cordless stick vac in your closet poses a severe, multi-layered risk to your hardware investment that far outweighs any quick cleaning convenience.
Key Takeaways
- Standard household vacuums generate destructive static electricity.
- Spinning fans with a vacuum can act as generators, damaging ports.
- Compressed air cans are the safest method for clearing dust.
- Always hold PC fans still while blowing them out.
- Specialized anti-static vacuums exist, but are strictly for professionals.
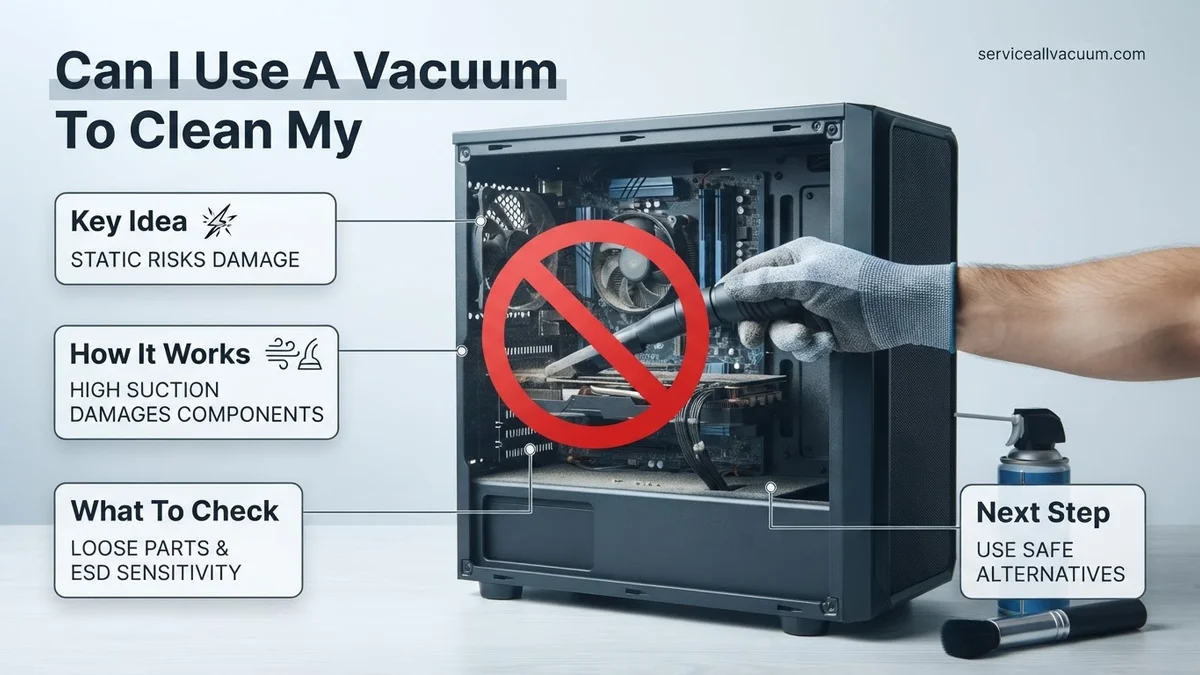
The Hidden Dangers of Using a Household Vacuum on PC Hardware
The Static Electricity Threat
Most household vacuums are constructed almost entirely of plastic components. As air rushes through the plastic nozzle and internal plastic tubing at high speeds, it creates friction. This friction generates a massive buildup of static electricity. If that static charge transfers from the vacuum nozzle to your motherboard, RAM, or GPU, it creates an invisible spark that can instantly destroy microscopic transistors. Your PC might turn on, but critical components could suffer immediate failure or latent damage that causes crashes weeks later.
Mechanical and Debris Risks
Beyond static electricity, traditional vacuums present physical hazards to your delicate internal layout. Consider these major risks:
- Suction Power: Household vacuums are engineered to pull dirt out of deep carpet fibers. That level of suction can easily rip surface-mounted capacitors right off your motherboard.
- Loose Hardware: The high-velocity suction can swallow tiny screws, jumper pins, or M.2 heatsinks if they happen to be slightly loose.
- Debris Collision: Plastic vacuum attachments lack precision and can easily scratch PCB traces or crack delicate fan blades inside your chassis.
Master PC Dust Removal in 7 Simple Steps
Cleaning your computer is a vital part of regular maintenance, but using the wrong tools can result in catastrophic hardware failure. Many users wonder if they can simply grab a household vacuum and suck away the dust bunnies. The short answer is a qualified no: standard vacuums generate destructive static electricity that can instantly fry sensitive circuit boards. This practical walkthrough will show you how to safely clean your system, explaining when a specialized vacuum can be used and what safer alternatives you should employ instead.
Step 1: Understand the Static Danger of Household Vacuums
What you need: A basic understanding of electrostatic discharge (ESD) and your computer’s internal components.
Instructions: Before you even touch your computer, you must understand why standard household vacuums are extremely dangerous. As air rushes through a plastic vacuum hose, it generates a massive static charge. If this plastic nozzle comes into close contact with or touches your motherboard, graphics card, or RAM, it can discharge thousands of volts of static electricity, permanently destroying delicate microchips. Never use a standard household vacuum cleaner inside your PC case. If you must use vacuum suction, it must be an anti-static, ESD-safe service vacuum specifically engineered for electronics repair.
Pro Tip: Always assume any standard plastic vacuum attachment is a ticking time bomb for your computer hardware. Stick to blowing dust out rather than sucking it out.
Step 2: Power Down and Prepare Your Workspace
What you need: A well-lit, hard-surfaced workspace (like a kitchen table), a Phillips-head screwdriver, and a microfiber cloth.
Instructions: Shut down your operating system completely and flip the power supply unit (PSU) switch on the back of the computer to the “off” position (the ‘O’ symbol). Unplug the power cable from the wall outlet, followed by all external peripherals such as your monitor, keyboard, and mouse. Move your PC tower to a hard, non-carpeted surface to minimize static electricity buildup. Avoid working on carpeted floors while handling computer hardware. Lay the tower on its side so the main glass or metal side panel is facing upward, giving you clear, gravity-assisted access to the internal components.
Pro Tip: Take a photo of your cable management and internal connections with your smartphone before starting, just in case you accidentally dislodge a wire later.
Step 3: Remove the Side Panels and Ground Yourself
What you need: A screwdriver (if your case uses thumbscrews or standard screws) and an anti-static wrist strap (optional).
Instructions: Remove the screws holding the main side panel in place. If you have a modern tempered glass panel, handle it with extreme care and place it safely away from foot traffic on a soft towel. Slide or swing the panel off. Before touching any internal parts, you need to discharge any static electricity built up in your body. Touch an unpainted metal portion of the computer case frame, or better yet, wear an ESD anti-static wrist strap clamped to the metal chassis and plugged into a grounded outlet. This ensures you are at the same electrical potential as your PC.
Pro Tip: Never touch the gold contact pins on circuit boards or the exposed chips on your graphics card and motherboard with your bare hands.
Step 4: Secure the Fans Before Applying Air
What you need: Zip ties, wooden toothpicks, or a clean cotton swab.
Instructions: Before you clean out any dust, you must address the cooling fans. When forced air or vacuum suction hits a computer fan, it causes the blades to spin rapidly. Because PC fans act as small generators, spinning them with external air forces electricity backward into the motherboard headers, which can burn out the fan controller or motherboard circuits. Take a wooden toothpick or a small zip tie and gently wedge it between the fan blades and the fan housing to physically lock them in place. Do this for every fan in the system, including the CPU cooler, case fans, and the power supply fan if accessible.
Pro Tip: Never let your cooling fans spin freely while cleaning them with compressed air or a vacuum. Always lock them down first.
Step 5: Apply Compressed Air or an Electronic Vacuum
What you need: A can of compressed air (or an electric data vac) and an anti-static electronics vacuum (if available).
Instructions: If you are using a specialized, ESD-safe electronics vacuum, hold the nozzle at least two inches away from the components and gently vacuum up loose dust clusters. If you are using standard compressed air—which is the industry-standard method—hold the can completely upright. Tilting the can sprays liquid propellant, which can freeze and damage your components. Fire short, controlled bursts of air across the dust-caked surfaces, starting from the top of the case and working your way down. Focus heavily on CPU cooler fins, graphics card heatsinks, and the bottom dust filters.
Pro Tip: Never use a leaf blower, hair dryer, or air compressor from a garage; these tools output too much pressure and can contain moisture or oil droplets.
Step 6: Clean Dust Filters and External Vents
What you need: Warm water, mild dish soap, a soft brush, and a microfiber cloth.
Instructions: Most modern PC cases feature magnetic or sliding dust filters designed to catch debris before it enters the main chamber. Remove these filters from the top, front, and bottom of your case. Take them to a sink and rinse them thoroughly with lukewarm water and a drop of mild dish soap. Use a soft-bristled brush to gently scrub away stubborn grime. Shake off the excess water and let them air dry completely for at least two hours before reinstalling them. While they dry, use a slightly damp microfiber cloth to wipe down the exterior plastic housing and exhaust ports of your PC case.
Pro Tip: Ensure filters are 100% bone dry before putting them back on your PC. Introducing moisture to a running computer will cause short circuits.
Step 7: Reassemble and Perform a System Check
What you need: Your reassembled PC tower, power cables, and peripherals.
Instructions: Once all components are completely dust-free and filters are dry, remove the toothpicks or zip ties holding your fans in place. Slide the side panels back onto the computer case and secure them tightly with their screws. Place the PC back in its normal operating location on your desk or floor. Reconnect all peripheral cables, plug the power supply cord back into the wall outlet, and flip the PSU power switch back to the “on” position (‘I’ symbol). Press the power button on your PC case and listen closely to ensure all fans spin up normally and no unusual rattling sounds occur.
Pro Tip: Monitor your computer temperatures using software like HWMonitor during your first gaming session or workload to verify that cooling efficiency has improved.
✅ Final Checklist
- Standard household vacuum cleaner was avoided to prevent static discharge damage.
- The computer was fully powered down, unplugged, and grounded before opening.
- All cooling fans were safely locked in place with toothpicks or zip ties before cleaning.
- Dust filters were washed, completely dried, and successfully reinstalled.
- All side panels, cables, and peripherals were securely reattached before powering back on.
Important Notes:
- Never open your computer’s Power Supply Unit (PSU) enclosure, as it contains capacitors that hold lethal electrical charges even when unplugged.
- If your computer smells like burning dust or continues to overheat after a thorough cleaning, seek help from a professional certified technician.
- Cleaning your PC takes about 30 to 45 minutes and costs less than $15 for a multi-pack of compressed air cans.
Why Static Electricity and Fan Voltage Destroy Motherboards
Understanding Triboelectric Charging
Static electricity builds up through the triboelectric effect, which occurs when certain materials rub against each other and exchange electrons. Plastic vacuum nozzles moving rapidly over ambient air and dust particles create thousands of volts of static charge. While human skin feels a static shock around 3,000 volts, it takes as little as 100 volts to permanently damage sensitive semiconductor nodes found in modern 2026 processors and graphics cards. Your vacuum acts as a literal static generator pointed right at your expensive hardware.
The Danger of Uncontrolled Fan Spin
Another catastrophic issue with vacuuming a PC involves the cooling fans attached to your CPU cooler, radiator, or case. When a vacuum pulls air through your system:
- Reverse Current Generation: Unrestricted airflow causes fans to spin at RPMs far exceeding their design limits.
- Electrical Backfeed: A spinning fan motor acts like a miniature generator, sending an electrical current backward through the fan header and straight into the motherboard.
- Component Failure: This reverse voltage spike can fry the motherboard fan controllers or short-circuit power rails entirely.
Step-by-Step Guide to Safely Cleaning Your PC Without a Vacuum
Safe PC maintenance requires precision tools and careful preparation. According to hardware technicians, you should always power down your system and disconnect the power supply unit from the wall before opening the chassis.
1. Prepare and Ground Yourself
Static electricity can permanently fry sensitive silicon components. Follow these sequential steps to safeguard your hardware:
- Shut down your operating system completely and flip the power supply switch on the back to the off position.
- Unplug the power cable, monitor connections, and all peripheral USB devices.
- Touch an unpainted metal surface on the computer case to discharge any accumulated static electricity.
- Move your PC to a well-ventilated, hard-surface workspace, avoiding carpeted floors entirely.
2. Clear the Dust Properly
With your PC prepped, use the right equipment to remove debris safely. Hardware manufacturers recommend the following procedure:
- Remove the side glass or metal panel of your computer chassis using a standard screwdriver.
- Hold your compressed air can or electronic air duster completely upright to prevent liquid propellant from spraying onto components.
- Secure cooling fans with your finger or a zip tie so they do not spin freely, which generates harmful electrical feedback.
- Apply short, controlled bursts of air across the heatsinks, graphics card, power supply shroud, and floor of the case until dust is visibly cleared.
What If It Still Doesn’t Work?
If your computer fails to boot after a routine dusting session, do not panic. Hardware troubleshooting data shows that minor connectivity disruptions are the leading cause of post-cleaning failures.
- Verify that the main power cable is securely plugged into both the wall outlet and the rear power supply unit.
- Check the front panel header connections on your motherboard to ensure you did not accidentally knock loose the power switch wires.
- Reseat your RAM sticks by unlocking the retention clips, pulling them out, and firmly pressing them back into their slots until they click.
- Reseat the dedicated graphics card by unlocking the PCIe slot retention latch and pushing the card straight back into place.
- If the system remains completely unresponsive, the motherboard or power supply may have suffered an electrostatic discharge. Seek professional repair services at a local PC shop, where diagnostic fees typically range from $50 to $100.
Conclusion
Using a vacuum to clean your PC creates severe risks of electrostatic discharge and bearing damage, making it a practice best avoided. Instead, rely on compressed air dusters and anti-static tools to protect your valuable hardware components. According to verified research and expert sources from major hardware manufacturers, proactive maintenance every six months extends system lifespan significantly. Take the next step today by acquiring an electric air duster to keep your gaming rig or workstation running at peak performance throughout 2026.
❓ Frequently Asked Questions
Can I use a shop vac to clean my PC?
No, shop vacs generate even higher levels of static electricity than household vacuums and produce intense suction that can dislodge small motherboard components.
What happens if static electricity hits my PC components?
Electrostatic discharge (ESD) can instantly fry microchips, the CPU, or the GPU, often causing silent failure or permanent hardware bricking.
Is it safe to use a handheld mini vacuum designed for keyboards?
Most cheap handheld mini vacuums are still made of plastic that generates static charge, making them unsafe to touch directly against internal circuit boards.
How do I prevent static electricity when cleaning my PC?
Always work on a non-static surface, unplug the power supply, and touch a metal object or wear an anti-static wrist strap before touching internal parts.
Can I use a hairdryer on the cool setting instead of compressed air?
A hairdryer is not recommended because it can still generate static electricity and lacks the precise, high-pressure burst needed to remove stubborn dust.
Do professional computer repair shops use vacuums?
Professionals occasionally use specialized, grounded anti-static vacuums designed to safely capture dust, but they never use standard consumer models.