How To Take Bissell Vacuum Apart To Clean: Quick Guide
Unplug Bissell, detach bin, filters, brush roll, and hose, then wash, dry, reassemble.
If you want a clean house and a long‑lasting machine, you must know how to take Bissell vacuum apart to clean. I have serviced and cleaned dozens of Bissell uprights, sticks, and canister models, and the steps are simple once you see them in order. This guide walks you through every step with clear tips, photos-in-mind detail, and pro mistakes to avoid so you can clean fast and put it back right the first time.

Before You Start: Safety, Model Check, and Prep
You will work around dust, hair, and sharp debris. Always unplug the vacuum first. For cordless models, remove the battery.
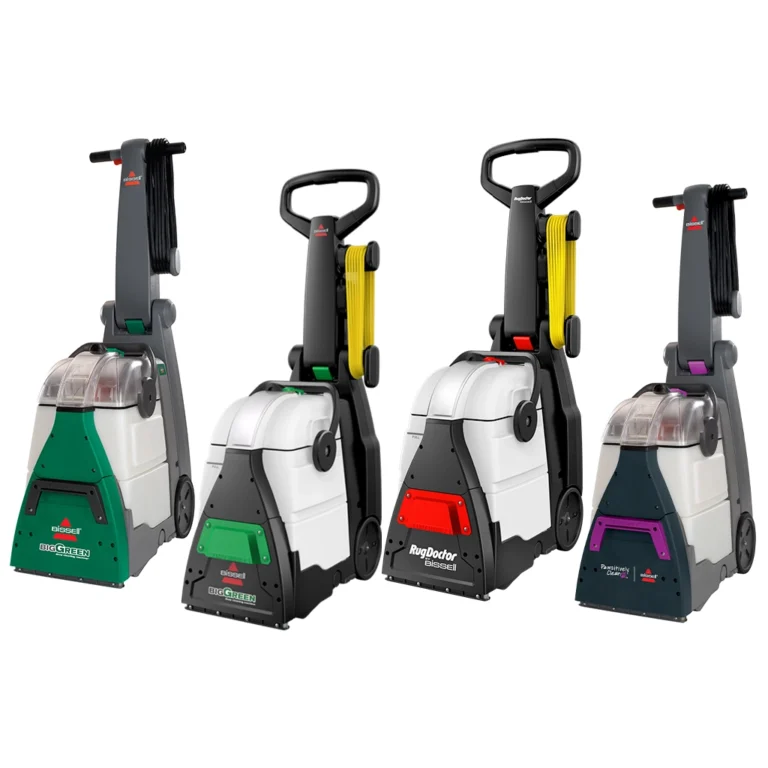
Find your model number on the rating label. It is often behind the dust bin or under the base. Knowing the model helps you match filter types and brush designs. If you cannot find it, compare your parts to the steps below. Most Bissell vacuums share the same core parts.
Work in good light. Lay down a towel to catch dust. Keep a small bowl for screws. Take quick photos as you go so reassembly is easy. This is the fastest way to master how to take Bissell vacuum apart to clean without stress.

Tools and Supplies You Will Need
- Soft brush and old toothbrush for crevices
- Microfiber cloths and paper towels
- Mild dish soap and warm water
- Scissors for hair wraps
- Compressed air can (optional)
- Long zip tie or straight coat hanger for hose clogs
- Replacement filters or brush roll if worn
- Small bowl for screws
Do not use harsh cleaners, bleach, or hot water. Do not soak electrical parts. Keep motors and wires dry at all times.

Know Your Bissell: Upright, Stick, Canister, and CrossWave Notes
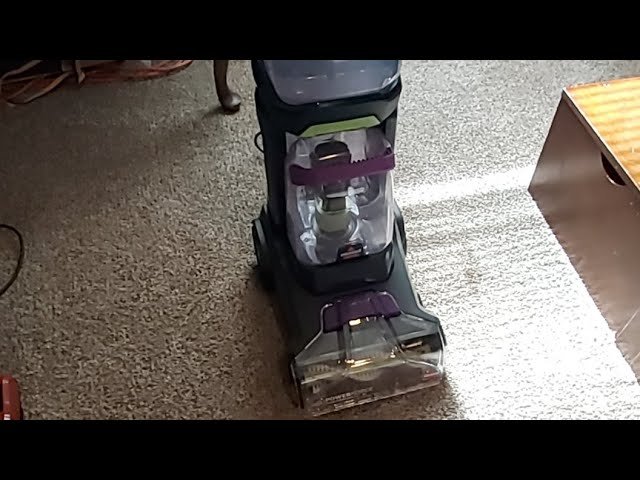
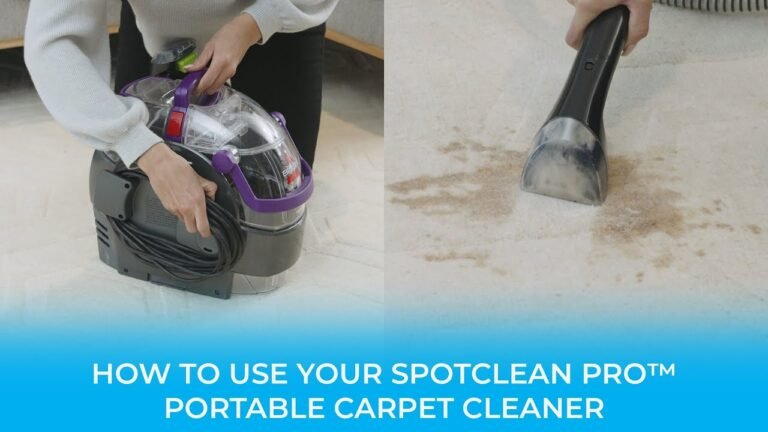
Bissell upright vacuums have a large dust bin and a brush roll in the base. Sticks and cordless units have a small bin near the handle. Canister models have a floor nozzle and a separate body with a long hose.
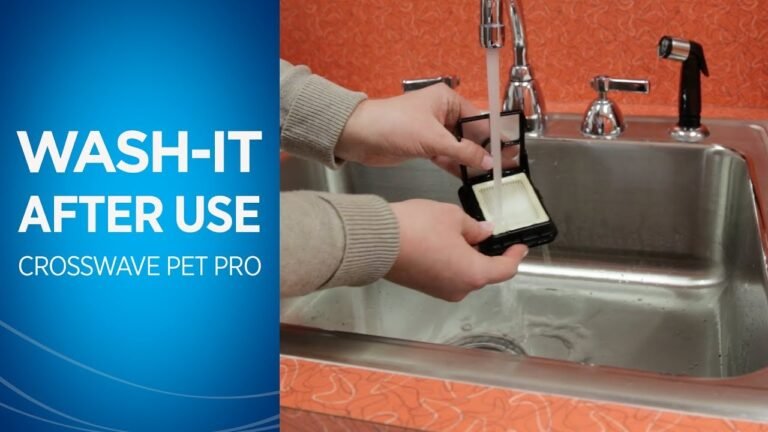
CrossWave is a wet and dry cleaner. It is close to a vacuum but uses water tanks and a brush window. The parts remove in the same way, but you must never soak the motor block or the handle area.
This guide covers all these styles. Follow the main steps, then check the model notes. This is the clearest way to learn how to take Bissell vacuum apart to clean across many designs.

How to Take Bissell Vacuum Apart to Clean: Step-by-Step
These core steps fit most Bissell vacuums. Read them once, then see the model notes below.
- Unplug and clear the area
- Unplug the cord or remove the battery.
- Remove tools from their holders.
- Remove the dust bin and empty it
- Press the bin release button.
- Empty into a trash bag. Tap gently to free fine dust.
- Separate the cyclone and inner screen
- Twist the top or pull the inner cyclone free.
- Tap out dust. Rinse with warm water if the manual allows. Let dry fully.
- Take out filters
- Locate pre-motor foam and felt filters, and any HEPA/post-motor filter.
- Note filter order. Take a quick photo.
- Tap off dust. Rinse foam and felt with water only. Do not wash HEPA unless the label says washable.
- Remove the brush roll and end caps
- Flip the base. Unlock the soleplate or brush window latches.
- Lift the brush roll out. Remove end caps if they come off.
- Cut hair wraps with scissors. Pull strands along the groove.
- Check the belt
- Slide the belt off the motor spindle.
- If cracked or loose, replace it. Belts are cheap and make a big difference.
- Clear the floorhead and nozzle
- Wipe the brush chamber. Clean edge channels and suction paths.
- Detach and clean the hose and wand
- Twist off the hose. Check both ends for clogs.
- Push a zip tie or hanger through to clear blockages.
- Rinse hose with warm soapy water. Rinse clean. Hang to dry.
- Wipe the body
- Use a damp cloth. Never wet the motor, switches, or battery area.
- Use a toothbrush for seams and crevices.
- Dry all parts
- Air dry filters and the hose for at least 24 hours.
- Parts must be bone dry before reassembly to avoid mold and motor damage.
Model-specific notes
-
Upright
- Many models have a brush window that lifts straight up.
- Some have two screws on the soleplate. Keep them in a bowl.
-
Stick and cordless
- The bin often twists off the motor head.
- The brush may be a soft roller. Pull the release tab and slide it out.
-
Canister
- The powerhead has its own belt and brush.
- The canister body holds the post-motor filter under a cover.
-
CrossWave style
- Remove brush window, pull out brush, empty and rinse dirty water tank.
- Wipe the squeegee. Do not submerge the motor housing.
These steps are the backbone of how to take Bissell vacuum apart to clean. They save suction and cut odors fast.

How to Clean Each Part the Right Way
-
Dust bin and cyclone
- Rinse with warm water and mild soap if allowed.
- Shake out water and air dry fully.
-
Foam and felt filters
- Rinse under cool water until it runs clear.
- Squeeze gently. Do not wring hard. Air dry 24 hours.
-
HEPA filter
- If non-washable, tap gently or replace.
- If washable, rinse lightly and air dry for 24 hours.
-
Brush roll and end caps
- Pull hair with scissors.
- Wipe the bristles and end caps. Check bearings for grit.
-
Hose and wand
- Soak in warm soapy water if very dirty.
- Rinse and hang vertical to drain.
-
Nozzle and seals
- Wipe with a damp cloth.
- Check rubber seals for cracks. Replace if torn.
Cleaning parts this way is the safest method for how to take Bissell vacuum apart to clean without harming filters, seals, or bearings.

Reassembly and Performance Check
-
Reassemble in reverse order
- Hose and wand first.
- Brush roll and belt next. Ensure the belt sits straight.
- Filters in the correct order. Bin last.
-
Run a test
- Plug in and switch on for 30 seconds.
- Listen for smooth sound. Check brush spin and suction at the hose.
-
Smell and airflow check
- Fresh smell means clean filters.
- Weak airflow often means a damp filter or a missed clog.
This reassembly flow locks in the gains from how to take Bissell vacuum apart to clean. It confirms your vacuum is ready for daily use.

Maintenance Schedule and Pro Tips
-
Every use
- Empty the bin. Check for hair on the brush.
-
Every 1–2 weeks
- Tap filters to remove dust. Wipe the nozzle.
-
Every month
- Wash foam and felt filters. Clean the hose.
- Remove hair wraps from the brush.
-
Every 6–12 months
- Replace worn belts and HEPA filters.
- Deep clean the cyclone.
Pro tips from the field
- Mark your calendar after you learn how to take Bissell vacuum apart to clean. A routine keeps suction strong.
- If you have pets, clean the brush weekly. Pet hair melts into the bristles and slows the roll.
- Own two sets of washable filters. Use one set while the other dries.
- If suction dips after a wash, the filter is still damp. Air dry longer.

Common Mistakes to Avoid
-
Washing non-washable HEPA filters
- This ruins the fibers and blocks airflow.
-
Reinstalling a damp filter
- Moisture feeds mold and can damage the motor.
-
Forgetting the belt path
- Take a photo before removal. A misrouted belt will slip or burn.
-
Over-tightening screws
- This cracks plastic tabs. Hand-tight is enough.
-
Using harsh cleaners or hot water
- They warp plastic and degrade seals.
Avoiding these errors protects your machine and keeps your results strong when you follow how to take Bissell vacuum apart to clean at home.

Frequently Asked Questions of how to take bissell vacuum apart to clean
How often should I clean my Bissell vacuum?
Light homes can clean monthly. Homes with pets or allergies should clean the brush and filters every 1–2 weeks.
Can I wash every filter on a Bissell?
No. Foam and felt filters are washable. Many HEPA filters are not; check your manual or the filter label.
What if the brush roll will not come out?
Check for hidden latches or screws on the soleplate or brush window. Remove hair wraps first, then pull straight out.
Why is suction still weak after cleaning?
A filter may be damp or the hose still clogged. Dry filters for 24 hours and recheck the hose and cyclone.
Is it safe to use soap on the dust bin and hose?
Yes, use mild dish soap and warm water. Rinse well and let parts dry fully before use.
How do I know the belt needs replacing?
Cracks, glazing, a burning smell, or a brush that stops under load are clear signs. Replace it and recheck alignment.
Conclusion
You now know how to take Bissell vacuum apart to clean in a safe, simple way. Unplug, remove the bin, filters, brush roll, and hose, wash what is washable, dry fully, and reassemble with care. A 20-minute routine can restore suction, cut odors, and extend motor life.
Make this a monthly habit. Set a reminder, keep spare filters, and snap photos as you work. Ready to go deeper? Bookmark this guide, share it with a friend who needs a cleaner home, and leave a comment with your model number if you want a tailored checklist.