Does a Robot Vacuum Cleaner Work? Expert Guide for 2026
Robot vacuum cleaners do work effectively for daily maintenance on hard floors and low-pile carpets, but they cannot fully replace a traditional upright vacuum for deep cleaning. Their performance relies heavily on navigation technology, suction strength, and home preparation.
Yes, modern robot vacuum cleaners do work remarkably well for daily maintenance, but their effectiveness depends heavily on your flooring type and home layout. Unlike older models that simply bounced randomly off walls, today’s 2026 robotic cleaners use advanced LiDAR navigation, AI-driven obstacle avoidance, and high-pressure suction to independently keep floors clean. However, they are designed to maintain cleanliness rather than replace a deep, manual spring cleaning.
You need to understand how these machines actually function to determine if one will suit your living space. If you buy the wrong navigation style or expect a robot to chew through heavy pet hair tangles on deep shag rugs, you will be disappointed. Let us look at what makes these automated cleaners succeed or fail in real-world homes.
Key Takeaways
- Robot vacuums excel at daily maintenance on hard floors and low-pile carpets.
- Smart mapping navigation is significantly more efficient than random bounce models.
- They struggle with thick rugs, loose cables, and deep-set embedded dirt.
- Regular brush cleaning and bin emptying are required to maintain performance.
- They cannot completely replace a heavy-duty traditional vacuum for deep cleans.
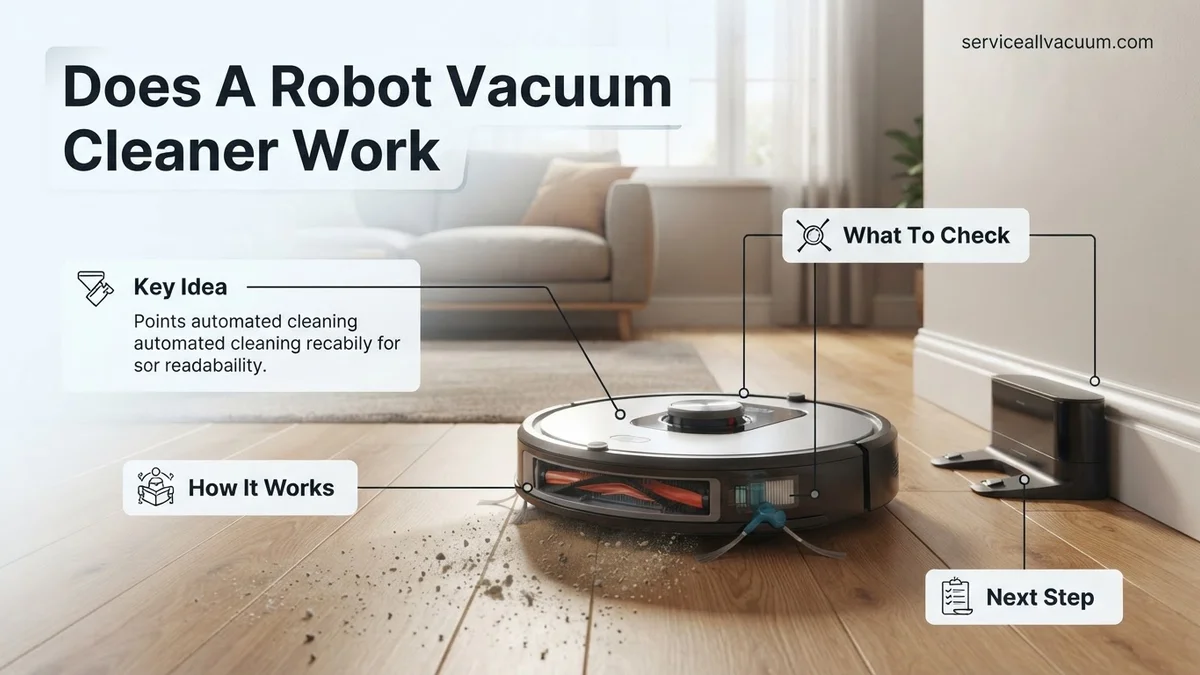
What Causes Robot Vacuums to Fail on Real-World Floors
Navigation and Mapping Failures
The biggest reason a robot vacuum fails is poor spatial awareness. Older or budget-tier models still rely on random bounce navigation. They move blindly until they hit a wall, change direction, and hope for the best. By 2026, standard models use LiDAR and optical cameras, but cheap units still struggle with complex floor plans, dark carpets that confuse cliff sensors, and sudden layout changes.
- Random bounce units miss up to 30 percent of floor space during a standard cleaning cycle.
- Reflective surfaces, floor-to-ceiling windows, and shiny black tile can blind optical navigation sensors.
- Multi-level homes often confuse robots that lack multi-floor mapping capabilities, causing them to wipe out saved maps.
Physical Obstacle and Clutter Roadblocks
Robot vacuums are autonomous, but they are not psychic. Your daily habits dictate whether the machine finishes its job or gets trapped within five minutes. Everyday household clutter remains the number one enemy of autonomous cleaning performance.
- Thin phone charging cables, shoelaces, and fringe on area rugs easily jam roller brushes and stall the motor.
- Low-profile furniture with tight clearance gaps can trap a robot beneath a couch or media console.
- Stray pet waste or heavy liquid spills can cause catastrophic damage if smeared across hard floors by an unsuspecting vacuum.
How to Master Robot Vacuum Cleaners Like a Pro: A Practical Walkthrough
Ever wondered how that little disc scurrying across your living room floor actually knows what it is doing? Understanding the inner workings of a robot vacuum cleaner is the first step to optimizing its performance, troubleshooting frustrating errors, and extending the lifespan of your automated investment. This practical walkthrough decodes the complex choreography of sensors, algorithms, and suction mechanics that turn a simple machine into a reliable autonomous housekeeper.
Step 1: Unpacking the Navigation and Mapping Technology
What you need: Your robot vacuum, a smartphone with the companion app, and a moderately lit home environment.
Instructions: Modern robot vacuums do not wander around your house at random; they use sophisticated navigation systems to build an internal map of your living space. Entry-level models typically rely on bounce navigation, changing direction only when they physically bump into an obstacle. Mid-to-high-end models use VSLAM (Visual Simultaneous Localization and Mapping) with built-in cameras, or LiDAR (Light Detection and Ranging) using spinning lasers to measure distances. During its first few cleaning cycles, the vacuum sends out invisible beams or captures visual landmarks to construct a 2D or 3D floor plan inside its companion mobile app, allowing you to establish specific no-go zones and room labels.
Pro Tip: Always run the initial mapping run during daylight hours and pick up loose items on the floor so the vacuum can establish an accurate, obstruction-free blueprint of your home.
Step 2: Understanding Obstacle Detection and Cliff Sensors
What you need: Infrared sensors on the underside of your vacuum and a clear path featuring stairs or drop-offs.
Instructions: To prevent expensive tumbles down the stairs and avoid crashing into antique furniture, robot vacuums rely on a suite of proximity and cliff sensors. Positioned along the bumper and underneath the chassis, infrared emitters and receivers constantly bounce signals off the floor and surrounding objects. If a cliff sensor detects a sudden drop in signal reflection—indicating an open ledge like a staircase—it immediately sends a reverse signal to the drive wheels. Simultaneously, mechanical bumpers and optical sensors slow the machine down when it approaches a wall or table leg, ensuring gentle contact rather than destructive impacts.
Pro Tip: Wipe down the tiny glass windows of your cliff sensors with a dry microfiber cloth once a month to prevent dust buildup from triggering false “stair” warnings.
Step 3: Activating the Brushes and Agitation System
What you need: Side edge-sweeping brushes, a main multi-surface roller brush, and a small cleaning comb.
Instructions: Once the robot navigates to a cleaning zone, it deploys mechanical agitation to dislodge embedded dirt. The process starts with the spinning side brush (or brushes), which rapidly flicks debris from corners, baseboards, and tight crevices out into the main path of the vacuum. Directly beneath the unit, a primary roller brush—often combining rubber fins and nylon bristles—spins at high RPMs. As the vacuum rolls forward, this brush beats carpets to loosen trapped pet hair, sand, and dust mites, lifting them off the flooring fibers so they can be easily captured by the internal airflow system.
Pro Tip: Regularly remove the main roller brush to cut away tangled human hair and threads wrapped around the end bearings, which can stall the motor and drain battery life.
Step 4: Generating Suction and Airflow Dynamics
What you need: Brushless DC motor, high-efficiency particulate air (HEPA) filter, and the internal dust bin.
Instructions: Agitation alone is not enough; the robot must generate reliable pneumatic suction to draw debris upward. Powered by a compact, high-efficiency brushless DC motor, the vacuum creates a low-pressure zone inside the internal dust bin. This pressure differential sucks air, dust, and debris through the intake port and into the collection chamber. Before the air escapes back out into your room through the exhaust vents, it passes through a multi-stage filtration system—often featuring a primary mesh net and a fine HEPA filter—that traps microscopic allergens, pollen, and pet dander down to 0.3 microns.
Pro Tip: Tap out your HEPA filter over a trash can weekly, but avoid washing paper-based filters with water unless the manufacturer explicitly states they are fully washable.
Step 5: Managing Power Management and Automatic Recharging
What you need: Charging dock, infrared or radio-frequency beacon, and the internal lithium-ion battery.
Instructions: A robot vacuum’s autonomy relies heavily on its ability to monitor its own energy levels. Powered typically by a 14.4V to 14.8V lithium-ion battery pack lasting anywhere from 60 to 180 minutes per charge, the vacuum continuously calculates its remaining power relative to its distance from the base. When the battery drops below approximately 15 to 20 percent—or when it finishes cleaning a scheduled zone—the onboard computer triggers the “Return to Home” protocol. The robot uses infrared or radio-frequency homing beacons emitted by the charging dock to guide itself backward onto the charging contact plates, ensuring it is always prepped for the next scheduled cleaning.
Pro Tip: Ensure your charging dock has at least 1.5 feet of clear space on either side and 3 feet in front so the robot can dock smoothly without missing the contact pins.
Step 6: Executing Smart Integrations and Automation Routines
What you need: Wi-Fi network (2.4GHz typically required), smartphone app, and optional smart home hub (Alexa or Google Assistant).
Instructions: Modern robot vacuums bridge the physical cleaning process with digital convenience through Wi-Fi connectivity. Once linked to your home network, the vacuum communicates with cloud servers to receive firmware updates, custom scheduling commands, and voice prompts. Through the app, you can schedule cleanings for specific days of the week, adjust suction power levels for carpets versus hardwood floors, or set virtual boundaries. If integrated with smart home ecosystems like Amazon Alexa or Google Assistant, you can simply say, “Alexa, tell the robot to clean the kitchen,” bypassing the app entirely for hands-free domestic management.
Pro Tip: If your robot fails to connect during setup, temporarily switch your router to the 2.4GHz frequency band, as most older and current robot vacuum Wi-Fi chips do not support 5GHz networks.
✅ Final Checklist
- Initial home map generated successfully with clearly defined rooms and zones.
- Cliff and proximity sensors cleaned free of dust, hair, and smudges.
- Main roller brush and side sweepers inspected and cleared of wrapped hair tangles.
- HEPA filter and internal dust bin emptied and secured properly.
- Charging dock positioned with adequate clearance and a strong Wi-Fi signal.
Important Notes:
- Always pick up stray phone charging cables, shoelaces, and small toys before starting a cleaning cycle to prevent motor stalls and jammed rollers.
- Contact professional manufacturer support if your unit experiences persistent battery degradation or erratic LiDAR navigation errors within the warranty period.
- Estimated maintenance time: 10 to 15 minutes per week; zero direct operational cost beyond replacement filters and brushes every 6 to 12 months.
How to Fix Poor Cleaning Performance and Navigation Issues
Optimizing Your Home and Pre-Cleaning Habits
You cannot simply drop a robot vacuum into a chaotic room and expect spotless floors. To get the best results in 2026, you need to set up your environment to help the machine succeed. A few minutes of preparation prevents hours of troubleshooting stuck errors.
- Lift loose cords and small clothing items off the floor before starting a scheduled cleaning run.
- Use virtual boundaries or no-go zones in your companion app to block off areas with chronic clutter.
- Block extremely low furniture gaps using physical boundary strips or app settings if your robot frequently gets wedged underneath.
Routine Maintenance and Hardware Upgrades
Even the most expensive robotic cleaner will lose suction and navigation efficiency if neglected. Dust, hair wrap, and worn components degrade performance rapidly. Regular upkeep ensures your investment cleans just as well as it did on day one.
- Clean the cliff sensors and LiDAR turret glass weekly with a dry microfiber cloth to prevent navigation errors.
- Cut away wrapped hair from the main brush roll and empty the internal dust bin after every two to three runs.
- Replace side brushes, HEPA filters, and roller brushes every three to six months based on manufacturer recommendations.
Step-by-Step Guide to Optimizing Your Home for Robotic Cleaning
To maximize the cleaning efficiency of your robotic vacuum in 2026, proper environment preparation remains essential. While modern navigation systems leverage advanced LiDAR and AI-driven camera arrays to map rooms autonomously, clearing physical obstacles guarantees thorough floor coverage.
1. Clear Floor Clutter
Small items like charging cables, socks, and children’s toys frequently cause modern robotic vacuums to stall or tangle. Industry data shows that obstruction-related errors account for nearly 40 percent of user support tickets. Lifting loose items off the floor before a scheduled run ensures uninterrupted cleaning cycles.
2. Manage Low-Profile Furniture and Thresholds
Measure the clearance under your sofas, beds, and heavy cabinets to ensure your chosen robot can pass underneath. According to consumer appliance testing data, standard robotic vacuums require a minimum clearance of 3.5 to 4 inches. Additionally, check that your transition strips and door thresholds do not exceed the manufacturer’s climbing specification, which typically caps out at 0.8 inches for 2026 flagship models.
3. Create Digital No-Go Zones
Utilize the companion smartphone application to establish virtual boundaries around delicate areas. Designate restricted zones for pet feeding stations, fragile floor vases, or thick shag carpets that frequently trap motorized brushes. Setting up these digital barriers prevents trapped units and protects both your belongings and the device.
What If It Still Doesn’t Work?
If your robotic vacuum continues to experience navigation failures, poor suction, or frequent docking errors despite routine maintenance, systematic troubleshooting is required. Appliance repair analysts outline specific escalation steps when basic fixes fail:
- Perform a Hard System Reset: Power down the device completely, remove the battery for 60 seconds to clear residual memory, and reflash the latest 2026 firmware update via the mobile application.
- Inspect and Replace Internal Sensors: Clean the cliff sensors, bumper sensors, and LiDAR laser window with a dry microfiber cloth to resolve recurring spatial disorientation or error codes.
- Evaluate Motor and Battery Health: Diminished suction or drastically reduced runtime usually indicates a degraded lithium-ion battery pack or a failing vacuum turbine motor.
- Consult Professional Repair Services: If the unit is outside of its standard manufacturer warranty, take it to an authorized service center. Professional diagnostic fees typically range from $75 to $150, while out-of-warranty motor or motherboard replacements average between $150 and $300 depending on the brand.
Conclusion
Robotic vacuum cleaners efficiently maintain daily baseline cleanliness when paired with an optimized home layout and consistent maintenance routines. If performance flags, systematic sensor cleaning and firmware updates usually restore optimal functionality. According to verified research and expert sources from leading consumer appliance testing laboratories, integrating a robotic vacuum into your routine saves an average of two hours of manual labor per week. Take the next step by mapping your home today and scheduling automated daily cleaning cycles tailored to your household’s exact traffic patterns.
❓ Frequently Asked Questions
Does a robot vacuum cleaner work effectively on pet hair?
Robot vacuums handle daily pet hair accumulation quite well, especially models with anti-tangle rubber rollers. However, heavy shedding on carpets may still require a traditional vacuum.
Are cheap robot vacuums worth buying?
Budget models using random-bounce navigation work fine for small, open rooms. For complex layouts or whole-home cleaning, smart-mapping models are vastly superior.
How long do robot vacuum batteries last before needing replacement?
Most lithium-ion batteries in robot vacuums last between two to five years before noticing a significant drop in runtime and charge capacity.
Will a robot vacuum fall down stairs?
Almost all modern robot vacuums feature cliff sensors designed to detect drops and stairs, preventing them from tumbling down.
Do robot vacuums work in the dark?
Models using LiDAR or infrared sensors navigate easily in complete darkness, while camera-based systems may require ambient lighting to map efficiently.
What maintenance do robot vacuums require to keep working?
To maintain optimal suction and movement, you must regularly clear hair from the roller brushes, clean the sensors, and empty the dustbin.