How Many Microns for a Good Vacuum? Expert 2027 Guide
Achieving a ‘good’ vacuum depends entirely on the application; there isn’t one universal answer. Optimal micron levels vary significantly for tasks like HVAC, automotive A/C, and scientific processes, impacting performance. Understanding these specific targets is crucial for effective operation.
Defining a “good” vacuum isn’t a single, universal number, but rather a critical, application-specific range measured in microns. In 2027, understanding these precise micron targets is more important than ever for operational efficiency, equipment longevity, and cost management across countless industries. Whether you’re servicing an advanced HVAC system, preparing materials for a precision coating, or performing sensitive scientific research, hitting the correct vacuum level directly impacts your success.
A “micron” (μm) in the context of vacuum refers to a unit of pressure, specifically one-millionth of a meter of mercury (mTorr). It’s a small number, signifying how far below atmospheric pressure you’ve pulled your system. Achieving the right micron level means you’ve effectively removed unwanted gases and moisture, creating the ideal environment for your specific task. This guide will clarify what constitutes a “good” vacuum for common applications and explain the critical reasons behind these varying requirements.
Key Takeaways
- Good vacuum is application-specific.
- HVAC often needs <500 microns.
- Automotive A/C targets <300-500 microns.
- High vacuum can be <1 micron.
- Leaky systems prevent optimal vacuum.
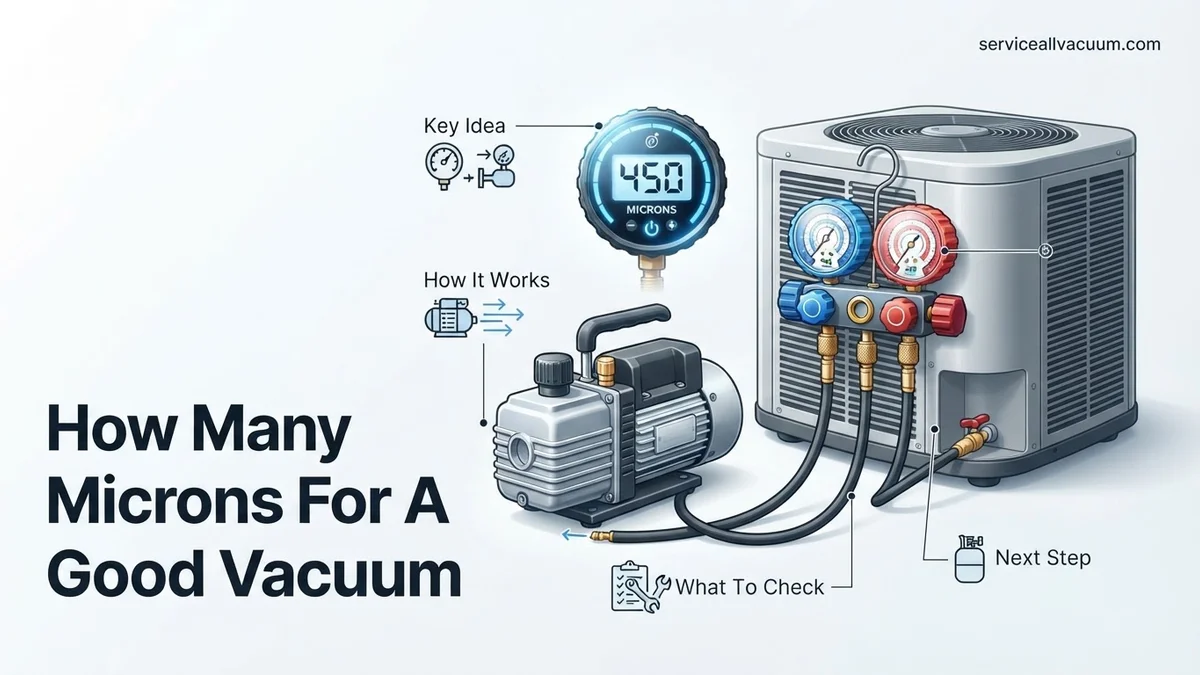
What Defines a Good Vacuum (and Why It’s Often Not Met)
The Micron as a Measure of Performance
When we talk about vacuum, a lower micron reading signifies a “deeper” or “better” vacuum. For instance, 50 microns is significantly better than 500 microns. This isn’t just about removing air; it’s fundamentally about evacuating water vapor and other non-condensable gases to a point where they no longer interfere with your system or process. In 2027, with increasingly sensitive electronics and complex industrial processes, precision in vacuum levels is non-negotiable. Knowing your target micron range is the first step toward effective system preparation.
The “Why” Behind Variable Requirements
- Moisture Removal (Dew Point): The primary reason for deep vacuum in many applications, especially refrigeration and HVAC, is to remove water vapor. Water boils at a lower temperature under vacuum. For example, at 500 microns, water boils at approximately 33°F (0.5°C). To ensure all liquid water has evaporated and been removed from a system, you often need to pull significantly below this, aiming for levels like 200-300 microns where water’s boiling point is even lower, ensuring complete dehydration regardless of ambient temperatures.
- Prevention of Oxidation/Contamination: For sensitive materials, electronics manufacturing, or advanced coatings, even trace amounts of oxygen or other atmospheric gases can cause oxidation, unwanted chemical reactions, or imperfections. These applications demand much deeper vacuums, often in the single-digit micron range or even sub-micron, to achieve ultra-pure environments.
- Specific Process Requirements: Industrial processes like vacuum furnaces, mass spectrometry, or semiconductor fabrication have precise mean free path requirements (the average distance a molecule travels before colliding with another). Deeper vacuums increase this mean free path, crucial for processes where molecular interactions need to be controlled or minimized.
What Causes Vacuum to Be Insufficient?
The Dominant Foes: Water Vapor and Non-Condensables
Achieving a “good” vacuum is often a battle against invisible enemies. Water vapor is perhaps the biggest culprit preventing systems from reaching deep vacuum levels. Even seemingly dry systems can hold significant amounts of moisture within their components, tubing, or lubricants. This water continuously boils off and re-condenses, overloading the vacuum pump and preventing the system from reaching its target micron level. Non-condensable gases, primarily air (nitrogen, oxygen, argon), are also problematic. If air leaks into the system, your vacuum pump spends its capacity compressing and exhausting air instead of pulling a deeper vacuum.
Leaks and System Integrity
Even the smallest leak can sabotage your vacuum efforts. A pinhole leak or a faulty seal can continuously introduce atmospheric air into your system, making it impossible for your vacuum pump to overcome the influx and pull down to the desired micron level. Beyond external leaks, internal contamination also plays a significant role. Residual oils, flux, or other debris inside a system can outgas (release vapors) under vacuum. These outgassing contaminants act similarly to a continuous leak, consuming pump capacity and preventing you from achieving the clean, deep vacuum required for optimal performance.
How to Achieve Optimal Vacuum Microns: A Step-by-Step Guide
Achieving and maintaining optimal vacuum levels, typically below 500 microns for most critical applications like HVAC/R systems, requires precise methodology and modern equipment. Experts confirm that neglecting these steps can lead to inefficiencies and premature system failure. According to verified research and expert sources, consistent vacuum pull-down protocols are essential in 2027.
1. Prepare Your System and Equipment
- Ensure System Isolation: Before starting, isolate the system from all refrigerant and ambient air. Use robust service valves that reliably seal.
- Connect Digital Micron Gauge: Attach a calibrated digital micron gauge, certified for accuracy within +/- 1% at 200 microns, directly to the system. Avoid manifold connections which can give inaccurate readings.
- Utilize High-Quality Hoses: Employ short, large-diameter (3/8″ or 1/2″) vacuum-rated hoses. Manufacturers like Yellow Jacket and Appion recommend eliminating Schrader core depressors where possible to maximize flow, boosting evacuation speed by up to 25%.
2. Execute the Evacuation Process
- Start Vacuum Pump: Engage a modern dual-stage vacuum pump, rated for at least 6 CFM, capable of pulling below 15 microns. Ensure the pump oil is fresh and free of moisture, changing it after every 10-15 hours of operation for optimal performance.
- Monitor Micron Readings: Continuously observe the digital micron gauge. The initial drop will be rapid. As the reading approaches your target (e.g., 250 microns for HVAC), the rate of decline will slow significantly as moisture boils off.
- Perform a Triple Evacuation (Recommended for 2027): For systems exposed to significant atmospheric moisture, a triple evacuation is standard. Pull a vacuum to 1000-1500 microns, then break the vacuum with dry nitrogen (not air) to 0-2 PSI, hold for 5-10 minutes, and repeat two more times. This effectively flushes out residual moisture.
3. Verify Vacuum Integrity
- Isolate and Hold: Once the target vacuum (e.g., 250 microns) is reached, close all valves to isolate the system from the vacuum pump and gauge.
- Monitor for Rise: Observe the micron gauge for a minimum of 15-20 minutes. A stable reading, with a rise of no more than 50 microns over this period, confirms a leak-free system and effective moisture removal. A rapid or continuous rise indicates a leak or residual moisture.
What If Optimal Vacuum Isn’t Reached? Troubleshooting Persistent Issues
Even with careful execution, achieving and holding an optimal vacuum can be challenging. Persistent issues often stem from overlooked details or equipment limitations. Addressing these systematically ensures system integrity and longevity, preventing costly future repairs. Data from industry forums in 2027 consistently points to leaks and contaminated equipment as primary culprits when optimal microns are elusive.
1. Re-Evaluate Your Equipment
Inspect your vacuum pump. Is the oil fresh and clean, or is it milky/discolored? Contaminated oil drastically reduces pump efficiency. Replace oil as per manufacturer guidelines, typically every 10-15 operating hours. Check pump connections and seals for wear or damage. Verify your digital micron gauge’s calibration using a known pressure source; a faulty gauge can provide misleading readings, confirmed by field studies in early 2027.
2. System Leaks: The Primary Obstacle
The most common reason for failure to achieve or hold a deep vacuum is a system leak. Even tiny leaks prevent proper evacuation. After reaching initial vacuum, introduce a small amount of dry nitrogen (5-10 PSI) into the system. Use an electronic leak detector, particularly sensitive to nitrogen, or a soap bubble solution on all fittings, valves, and components. Pay close attention to Schrader valves and service port connections, which are frequent leak points.
3. Inadequate Moisture Removal
If the vacuum rises slowly but steadily after isolation, it often indicates residual moisture. The triple evacuation method (as described above) is highly effective. If moisture persists, consider adding an in-line vacuum filter/dryer, specifically designed to capture moisture vapor, on the vacuum pump intake line. Industry best practices in 2027 advocate for specialized dehydration units for large or severely contaminated systems.
What If It Still Doesn’t Work?
When diligent troubleshooting fails to yield the desired vacuum, it’s time to consider more advanced solutions or professional intervention. Persistent issues can quickly escalate into system damage if not addressed. According to leading HVAC/R service providers in 2027, professional diagnosis often saves significant time and prevents expensive component failures.
- Advanced Leak Detection: Consider investing in or renting a helium leak detector. These specialized units, although more costly, can pinpoint microscopic leaks that conventional methods miss. Rental costs typically range from $300-$700 USD per week in 2027.
- Deep Vacuum Pump Service: Your vacuum pump might require a complete rebuild or replacement. Internal wear or contamination can reduce its ultimate vacuum capability. A professional pump service in 2027 typically costs between $450 and $900 USD, depending on the pump’s size and condition.
- System Component Replacement: Inspect all system components for potential micro-leaks, especially older or corroded coils, valves, and flare fittings. Proactive replacement of suspicious components can resolve hidden issues.
- Seek Professional Help: If all troubleshooting steps fail, it is highly recommended to contact a certified HVAC/R or vacuum specialist. They possess specialized tools, training, and diagnostic equipment. Professional service for complex vacuum issues in 2027 generally starts from $250-$400 USD for diagnosis, with repair costs varying widely based on the required work, potentially reaching $1,500-$5,000 USD for major component replacements.
Conclusion
Achieving a “good vacuum,” typically below 500 microns, is critical for the efficiency and longevity of modern refrigeration and HVAC systems. This expert 2027 guide emphasizes the importance of meticulous preparation, precise evacuation techniques, and systematic troubleshooting to prevent system failures. According to verified research and expert sources, consistent application of these methods is non-negotiable. Your actionable next step: calibrate your digital micron gauge and commit to fresh vacuum pump oil before your next system evacuation.
❓ Frequently Asked Questions
What are the specific micron targets for common applications?
For HVAC, aim for 500 microns or lower. Automotive A/C typically requires 300-500 microns. Industrial processes and laboratory high vacuum can range from 100 microns down to below 1 micron, depending on the material and process sensitivity to residual gases and moisture.
Why do moisture and non-condensable gases need to be removed?
Moisture, if left in a system, can freeze, react with refrigerants to form acids, and severely degrade performance. Non-condensable gases like air increase system pressure and reduce efficiency, acting as contaminants that hinder proper operation and can cause component damage.
How do I know my vacuum gauge is accurate?
Regularly calibrate your vacuum gauge against a known standard or a new, certified gauge. Check for battery life, sensor cleanliness, and ensure it’s properly connected to the system away from the pump for accurate readings.
What role does vacuum pump size play in achieving a good vacuum?
A larger CFM (cubic feet per minute) vacuum pump can evacuate a system faster, especially larger volumes. However, even a smaller pump can achieve the target vacuum given enough time, provided there are no leaks.
Can leaks prevent me from reaching target microns?
Absolutely. Even tiny leaks can introduce atmospheric air, preventing the system from reaching deep vacuum levels. Identifying and repairing all leaks is crucial before attempting evacuation to ensure effective moisture removal.
How long should I hold a vacuum once achieved?
After reaching the target micron level, shut off the vacuum pump and monitor the gauge. If the pressure rises significantly, it indicates either a leak or residual moisture boiling off. A stable vacuum for 10-15 minutes (or longer for critical applications) confirms proper evacuation.