
Can You Vacuum Hardwood Floors? Expert Step-by-Step 2027
Yes, you can safely vacuum hardwood floors, provided you follow one crucial rule: always turn off the rotating beater bar or brush roll to prevent scratching. Using the wrong settings or heavy plastic wheels can permanently dull and damage your wood finish over time.
Yes, you can safely vacuum hardwood floors, but only if your vacuum is set up correctly. The golden rule for 2027 hardwood maintenance is simple: keep the rotating brush roll and beater bar turned completely off. Skipping this crucial step is the fastest way to scratch and dull your expensive wood finish.
When you use the right settings and attachments, vacuuming is actually much better for wood floors than traditional sweeping. Sweeping often pushes fine grit and dust particles around, acting like microscopic sandpaper against your polyurethane finish. A proper vacuum captures that debris instead of grinding it into the wood grain.
Key Takeaways
- Always turn off the rotating beater bar before cleaning hardwood floors.
- Choose vacuums with soft roller attachments and rubber wheels to prevent scratches.
- Check wheels regularly for trapped grit or debris that can gouge wood.
- Vacuum high-traffic areas weekly to remove abrasive dirt particles safely.
- Adjust suction settings lower if the vacuum head grips the floor too tightly.
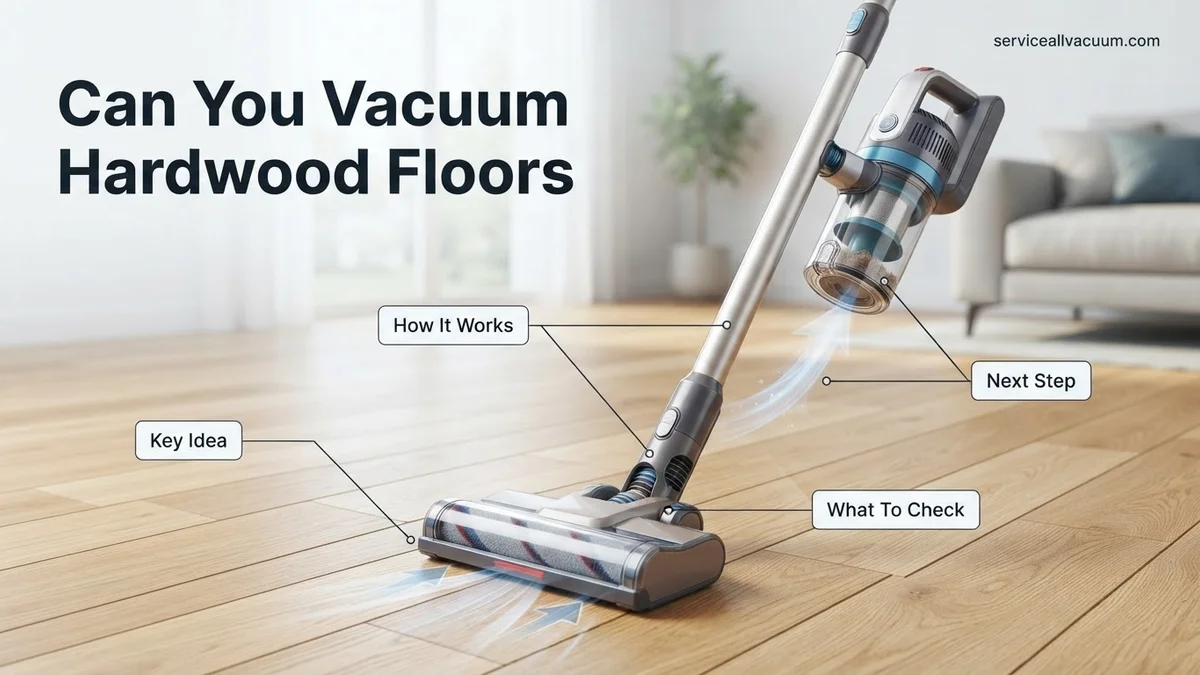
What Causes Vacuum Damage on Hardwood Floors
The Danger of the Beater Bar
The rotating brush roll, or beater bar, is designed to dig deep into carpet fibers to pull up embedded dirt. On hardwood floors, those stiff bristles and the spinning mechanism act as a direct abrasive hazard. As the metal or hard plastic housing spins against the wood, it creates friction that strips away protective finishes and leaves permanent scratches. Even worse, if small pebbles or sharp grit get caught in the spinning bristles, your vacuum turns into an accidental sander that mars your floor with every pass.
Wheel Scratches and Suction Issues
Vacuum damage does not just come from the bottom cleaning head. Poorly designed wheels are a hidden culprit that many homeowners overlook.
- Hard plastic wheels: Old or cheap vacuum wheels can trap sharp debris underneath them, gouging parallel tracks into softer wood species like pine or cherry.
- Excessive suction: If your vacuum lacks adjustable suction and clamps down too tightly on the floor, the heavy base can drag and create scuff marks across the surface.
How to Safely Vacuum Hardwood Floors Step-by-Step
Preparation and Setting Adjustments
Before you turn on your machine for your weekly cleaning routine in 2027, you need to prep both the floor and the vacuum. Walk your rooms first to pick up larger debris like paper clips, coins, or plastic toys that could jam the suction hose or crack the vacuum housing.
- Turn off the motorized brush roll or switch the appliance to bare-floor mode.
- Adjust the height setting if your vacuum has manual clearance options, ensuring the floor head glides smoothly without scraping.
- Inspect the wheels to make sure they are clean and free of embedded grit.
Proper Technique for Scratch-Free Results
Once your vacuum is configured for bare floors, technique matters just as much as hardware. Do not rush the process or use aggressive, jerky back-and-forth motions. Instead, push and pull the vacuum slowly along the natural direction of the wood grain. This minimizes cross-grain friction and helps the suction port capture dust resting inside the natural grooves of the planks. Pay special attention to high-traffic hallways and kitchen thresholds where abrasive dirt accumulates most rapidly.
What to Do If Your Vacuum Leaves Scratches or Marks
Even with the best precautions, sudden equipment malfunctions or trapped debris can occasionally cause scuffs on delicate wood finishes. Flooring specialists emphasize immediate action when minor surface damage occurs during routine maintenance.
Assessing the Damage Type
Differentiate between a surface-level scuff and a deep gouge. A white mark typically indicates minor friction damage to the polyurethane topcoat, whereas a dark indentation means the raw wood fibers have been compressed or exposed.
Corrective Buffing Steps
Address light surface scuffs safely by following these expert-recommended restoration steps:
- Clean the affected area thoroughly with a damp microfiber cloth to remove any residual grit.
- Apply a few drops of specialized hardwood restorer or mineral oil to a soft cloth.
- Buff the scuffed area gently in a circular motion following the grain of the wood.
- Wipe away any excess product immediately with a dry cloth to prevent a slippery residue buildup.
Expert Tips for Maintaining Hardwood Surfaces
Maximizing the lifespan of hardwood installations requires a balanced approach combining modern equipment and traditional preventative care. Industry guidelines from the National Wood Flooring Association (NWFA) highlight key strategies to keep surfaces pristine through 2027 and beyond.
Zone High-Traffic Areas
Prevent abrasive dirt from ever reaching your floors by implementing strategic protective barriers at all home entry points.
- Place high-absorbency doormats both outside and inside every exterior door to trap moisture and outdoor debris.
- Install non-slip, breathable felt pads under heavy furniture legs to eliminate friction damage when items shift.
- Enforce a strict no-cleats or high-heel policy in rooms featuring delicate exotic hardwood species like Brazilian Cherry or Tigerwood.
Control Indoor Climate Factors
Hardwood expands and contracts in response to shifting environmental conditions. Maintain indoor relative humidity between 35 percent and 55 percent year-round using a whole-home humidifier or dehumidifier system to prevent board warping and unsightly gaps.
What If It Still Doesn’t Work?
If standard buffing fails to remove vacuum marks or if your floors show widespread dullness, structural intervention may be necessary. When basic maintenance hits a wall, consider these professional fallback steps:
- Inspect the vacuum’s underside again to ensure a forgotten screw or embedded metal component isn’t continuously damaging the floor.
- Consult a certified NWFA flooring inspector to evaluate whether the finish has worn through to the raw wood layer.
- Hire a professional flooring contractor to perform a localized screen and recoat procedure instead of a full, disruptive sand-and-refinish project.
- Budget appropriately for professional restoration services, which typically range from $3 to $5 per square foot for screening and recoating, or $4 to $8 per square foot for full sanding in 2027.
Conclusion
Vacuuming hardwood floors is entirely safe when utilizing specialized modern vacuums equipped with soft brush rolls and deactivated agitators. According to verified research and expert sources from the National Wood Flooring Association, eliminating abrasive grit prevents premature wear and extends finish longevity significantly. Take the next step today by inspecting your current vacuum attachments to ensure they meet modern manufacturer specifications for scratch-free hardwood care.
❓ Frequently Asked Questions
Is it better to sweep or vacuum hardwood floors?
Vacuuming is often better than sweeping because it actually removes dust and fine grit from crevices rather than just pushing it into the air or gaps between planks. However, you must use a vacuum with the beater bar turned off to protect the finish.
Can cordless stick vacuums be used on hardwood?
Yes, many cordless stick vacuums feature specialized soft-roller heads designed specifically for hard floors. These attachments lift fine dust safely without scratching the surface.
What type of vacuum attachment is safest for wood?
A dedicated hard floor tool with soft horsehair bristles or a micro-fiber soft roller brush is the safest attachment. These tools glide smoothly across the wood without applying abrasive friction.
How do I prevent my vacuum from leaving scuff marks?
Inspect the bottom of your vacuum regularly to ensure the wheels and glide pads are clean. Wipe away any accumulated dirt, sticky residue, or grit that could drag across the floor.
Can upright vacuums damage hardwood?
Traditional upright vacuums can damage hardwood if the aggressive beater bar cannot be shut off or if the plastic wheels are worn down. Always check that the brush roll stops spinning when lifted or switched to hard floor mode.
What should I do if my vacuum has strong suction that sticks to the floor?
If your vacuum seals too tightly to the hardwood, open the suction release valve on the wand or lower the motor power setting. This prevents the heavy suction head from dragging and scratching the finish.
![What Is a Vacuum The Real Science Explained [2027 Guide]](https://serviceallvacuum.com/wp-content/uploads/2026/09/what-is-a-vacuum-featured-768x432.webp)