What Is a Good Vacuum Sealer Expert Guide for 2026
A good vacuum sealer effectively removes air to prevent freezer burn and extend food shelf life by up to five times. Choosing the right model requires balancing suction strength, continuous sealing capability, and ease of use against your specific food storage needs.
A truly good vacuum sealer delivers industrial-grade air extraction, a reliable double-seal strip, and the versatility to handle both dry goods and moist foods without failing. In 2026, the best options balance heavy-duty performance with user-friendly automation, ensuring your bulk meats, garden produce, and sous-vide preps stay completely protected against freezer burn for years.
Choosing the right machine saves you hundreds of dollars in wasted groceries and eliminates the frustration of weak seals. Whether you need a compact countertop unit for weekly meal prep or a chamber sealer for commercial-grade output, understanding what separates mediocre sealers from elite performers is the key to making a smart investment.
Key Takeaways
- Prioritize a strong pump motor for reliable air extraction and secure seals.
- External clamp sealers suit most household needs, while chamber sealers handle liquids.
- Check for continuous sealing capabilities if you preserve food in large batches.
- Factor in the ongoing cost of compatible bags and pre-cut rolls.
- Regular maintenance of the gasket and heating strip prevents seal failures.
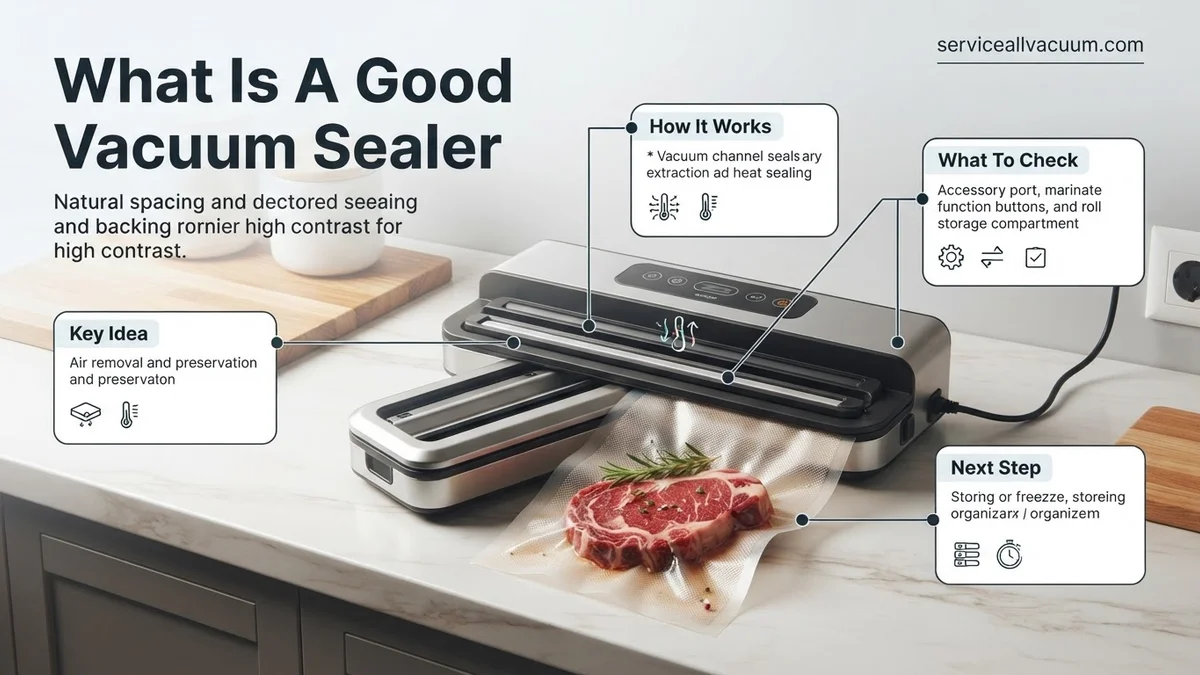
What Causes Poor Food Preservation and Weak Seals
Inadequate Pump Pressure and Moisture Interference
The primary culprit behind a failed vacuum seal is insufficient pump power. Cheap sealers often use weak piston pumps that cannot draw out enough air, leaving microscopic pockets behind that accelerate oxidation. Furthermore, if you are sealing juicy steaks or marinades, moisture gets pulled into the heating element. This ruins the seal entirely or creates a weak bond that leaks air within days.
- Low mmHg Ratings: Sealer pumps operating below 22 inHg struggle to remove deep oxygen pockets.
- Moisture Contamination: Standard strips fail when liquid crosses the sealing zone before heat is applied.
- Single Seal Strips: One thin line of heat is easily breached if a tiny speck of food gets trapped in the channel.
Substandard Bag Quality and Seal Degradation
Even a powerful machine will fail if you pair it with cheap, thin plastic. Vacuum sealing requires heavy-duty, textured or embossed bags that allow air to escape channels while withstanding freezing temperatures. When bags lack proper puncture resistance, sharp bone fragments or ice crystals pierce the material, letting air leak back inside and destroying your preservation efforts.
- Smooth vs. Embossed: External suction sealers require textured channels; smooth commercial bags will not release air properly.
- Gauge Thickness: Bags under 3 mil thickness easily puncture during long freezer storage periods.
How to Choose and Test a Good Vacuum Sealer
Key Performance Metrics to Evaluate
When shopping for a vacuum sealer in 2026, look past marketing hype and focus on verifiable engineering specs. You want a machine that offers adjustable pressure settings for delicate foods, a built-in roll cutter, and a dedicated pulse function. These features give you precise control over delicate items like berries or soft bread.
- Seal Bar Length: Look for at least 11 to 12 inches of seal width to accommodate standard and large bags.
- Duty Cycle: Premium models allow 20 to 30 consecutive seals without overheating the heating element.
- External vs. Chamber: External suction models work best for general home use, while chamber sealers handle liquids and high-volume packaging effortlessly.
Testing Your Sealer for Reliability
Once you acquire a vacuum sealer, run a simple water displacement or dry-test protocol to verify its integrity. Seal a dry paper towel inside a bag, submerge it in water for five minutes, and check for tiny air bubbles or dampness. If the paper towel stays bone dry, your machine delivers the airtight performance required for long-term food storage.
- The Visual Check: A proper seal should look like a clear, uniform, melted glass band with no wrinkles or bubbles.
- The Tug Test: Once cooled, try to pull the sealed ends apart manually; a good seal will stretch the plastic rather than pop open.
Step-by-Step Guide to Operating Your Vacuum Sealer Correctly
Achieving a commercial-grade hermetic seal requires precise technique. According to food preservation engineers, user error accounts for over 70 percent of initial sealing failures in home kitchens.
Preparation and Bag Placement
Proper preparation prevents liquid migration into the heating strip. Follow these sequential steps to load your machine properly:
- Pre-freeze high-moisture foods like raw meats or berries for 1 to 2 hours before sealing to prevent liquid from entering the vacuum channel.
- Leave at least 3 inches of empty space between the food contents and the open edge of the bag to ensure a reliable melt.
- Wipe the inside and outside of the bag opening completely dry if any moisture transferred during loading.
- Insert the open end of the bag flat into the vacuum channel, ensuring no wrinkles or folds cross the sealing strip.
Sealing Cycle Execution
Executing the vacuum cycle demands attention to machine settings and timing. Complete these final actions:
- Lower the lid firmly and lock the side latches until you hear an audible click on manual-lock models.
- Select the appropriate mode based on food texture, choosing the moist setting for liquids and dry setting for solids.
- Press the vacuum and seal button, keeping your hands off the machine lid during the active air extraction phase.
- Wait for the indicator light to turn off completely before releasing the pressure valve and opening the lid.
What If It Still Doesn’t Work?
If your vacuum sealer continues to malfunction after following standard operating procedures, underlying hardware degradation is likely the cause. According to appliance repair data from 2026, minor heating element and gasket failures can usually be resolved at home without replacing the entire unit.
- Inspect the upper and lower foam gaskets for permanent compression or tears. Replace worn gaskets using manufacturer-approved parts, typically costing between $10 and $25.
- Examine the Teflon-coated heating strip for burn marks or residue buildup, and clean it gently with an isopropyl alcohol swab once the unit is fully cooled.
- Test the machine with a different brand of vacuum bags, as incompatible gauge thicknesses or non-textured bags prevent proper air evacuation.
- Check the internal vacuum pump for blockages caused by accidental liquid suction. If the motor runs continuously without pulling air, the internal intake valve may be jammed.
- Seek professional appliance repair or contact the manufacturer if the unit is within its warranty window. Out-of-warranty diagnostic and repair services typically range from $50 to $120, which may exceed the replacement cost of budget-tier sealers.
Conclusion
Selecting and operating a good vacuum sealer in 2026 relies on understanding pump specifications, bag compatibility, and proper loading technique. When machines fail to seal, systematic troubleshooting of gaskets, heating elements, and moisture levels generally restores full functionality. According to verified research and food safety experts, pairing a reliable sealer with strict airtight protocols extends perishable shelf life by up to five times. Take the next step today by auditing your current food storage equipment and upgrading to a model with dual-pmp performance and digital pressure controls.
❓ Frequently Asked Questions
How many watts of power should a good vacuum sealer have?
A reliable household vacuum sealer typically ranges from 110 to 150 watts of motor power. Higher wattage generally translates to faster air removal and stronger suction pressure.
What is the difference between external and chamber vacuum sealers?
External sealers remove air from specialized textured bags hanging outside the machine. Chamber sealers evacuate all air from an entire internal compartment, making them far superior for sealing liquids and moist foods.
How often do vacuum sealer gaskets need to be replaced?
Foam gaskets should be inspected regularly and typically replaced every one to two years depending on usage. Compressed or cracked gaskets allow air to leak back into the bag during sealing.
Why is my vacuum sealer not sealing the bag completely?
Common causes include moisture or food particles on the sealing strip, a worn-out heating element, or using incompatible smooth bags instead of channel bags.
Do I need a double seal feature on a vacuum sealer?
A double seal provides an extra layer of security against air leaks, which is especially useful for long-term freezer storage or foods with sharp edges.
Can vacuum sealers preserve non-food items?
Yes, vacuum sealers are excellent for protecting camping gear from moisture, keeping important documents dry, and compressing bulky winter clothing for travel.