How Long Do Vacuum Cleaners Last in 2027? Expert Guide
Vacuum cleaners typically last 5-8 years, but this can vary significantly. Factors like brand quality, vacuum type, usage frequency, and consistent maintenance play a crucial role in determining its operational life and performance.
In 2027, you can expect your vacuum cleaner to last anywhere from 5 to 8 years on average, though premium models with careful maintenance can easily exceed a decade. This lifespan isn’t fixed; it heavily depends on factors like the vacuum’s type, your usage habits, and its original build quality. Knowing these expected durations and what drives them helps you make smarter purchasing decisions, anticipate replacement costs, and understand how to protect your investment for as long as possible.
Understanding your vacuum’s potential lifespan is crucial for budgeting, environmental responsibility, and avoiding unexpected breakdowns. A well-maintained unit not only performs better but also significantly delays the need for a costly replacement. By focusing on smart usage and simple care, you hold the power to extend your vacuum’s operational life far beyond its typical expectations in today’s market.
Key Takeaways
- Average lifespan:5-8 years for most vacuums.
- Brand quality & vacuum type greatly impact longevity.
- Regular maintenance directly extends vacuum life.
- Clean/replace filters and empty bins often.
- Repair vs. replace:consider costs carefully.
What Causes Vacuum Cleaners to Fail: Understanding Lifespan Factors
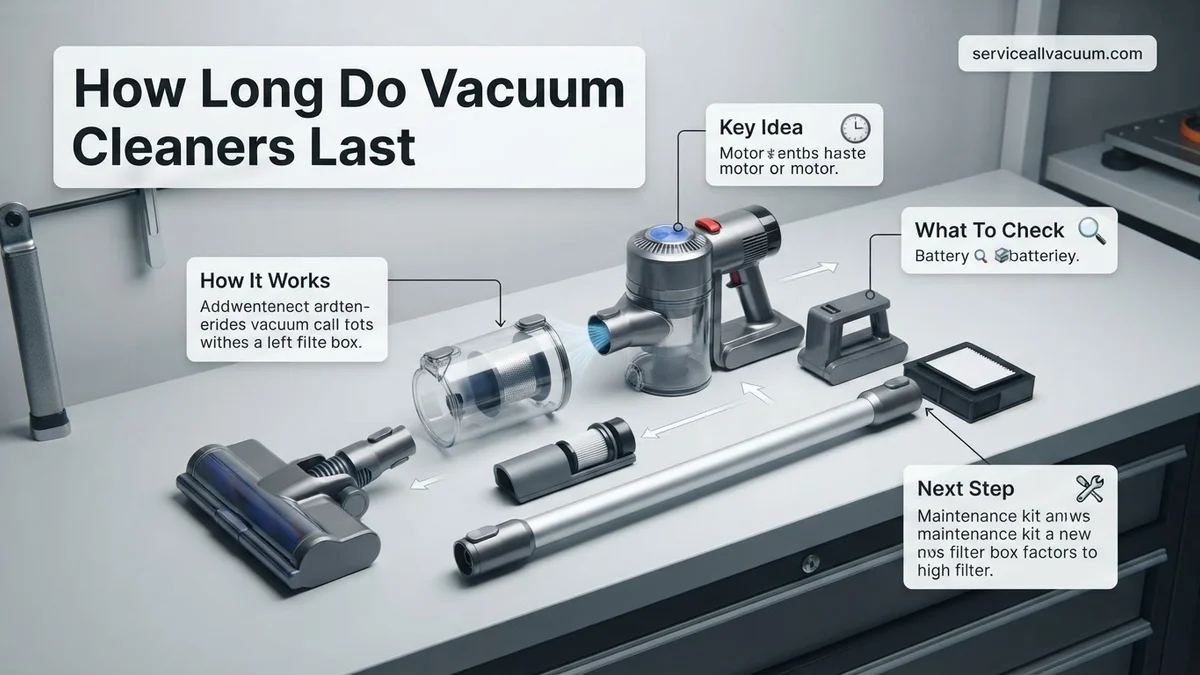
The longevity of your vacuum cleaner isn’t a random number; it’s a direct result of several measurable factors. While 5-8 years is the general expectation for many models in 2027, specific design choices and user behaviors can drastically shift this range. Identifying these influences helps you predict and even manipulate your vacuum’s lifespan.
Average Lifespans by Vacuum Type in 2027
Different vacuum designs inherently offer varied durability due to their complexity and intended use. Here’s what you can generally expect:
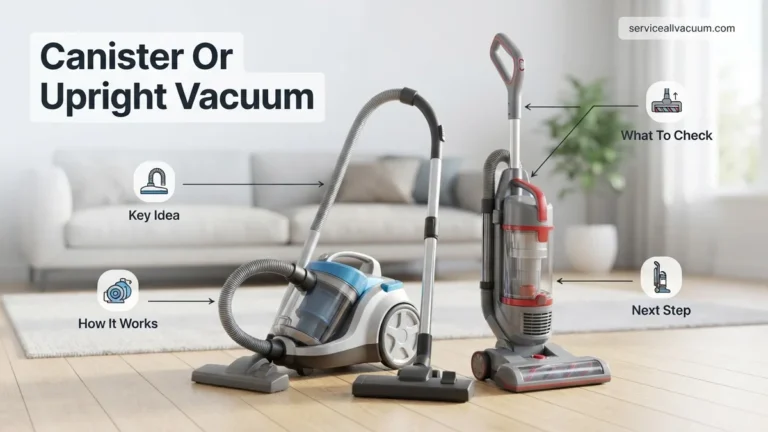
- Upright/Canister Vacuums: These traditional workhorses often lead in longevity, averaging 7-10 years. Their robust motors and simpler mechanics tend to withstand heavy use.
- Stick Vacuums: Lighter and more portable, stick vacs (especially cordless models with advanced battery tech in 2027) typically last 4-6 years. Battery degradation is often the limiting factor here.
- Robotic Vacuums: The most complex, robotic units usually have the shortest lifespan at 3-5 years. Their intricate electronics, sensors, and smaller components are more prone to failure, though smart navigation systems in 2027 have improved their efficiency.
Key Influencers on Durability and Lifespan
Beyond the vacuum type, several core elements dictate how long your cleaner will perform optimally. You should consider these when evaluating your current unit or a potential new purchase.
- Brand Reputation and Build Quality: Premium brands (e.g., Miele, Dyson, Shark’s higher-end lines) invest in superior materials and robust engineering. They often feature higher-grade plastics, durable hoses, and more reliable internal components, pushing their lifespan closer to the 8-10+ year mark. Budget brands, while initially attractive, often use cheaper parts that fail sooner, typically lasting 3-5 years.
- Motor Type and Quality: The motor is the heart of your vacuum. Brushless DC (BLDC) motors, increasingly common in mid-range and premium vacuums by 2027, offer superior longevity and efficiency compared to older universal (brushed) motors. They generate less heat and friction, directly extending the unit’s life.
- Frequency and Intensity of Use: A vacuum used daily in a large, pet-filled home will naturally wear out faster than one used weekly in a small, low-traffic apartment. High-intensity use accelerates component fatigue, motor wear, and filter blockage, reducing its overall lifespan by several years.
- Maintenance History: Neglecting routine maintenance, like replacing filters or clearing blockages, significantly shortens a vacuum’s life. Poor airflow forces the motor to work harder and hotter, leading to premature failure.
From Purchase to Farewell: Vacuum Cleaner Lifespan Explained
Understanding how long your vacuum cleaner can reliably serve you is key to getting the most out of your investment and avoiding unexpected breakdowns. This comprehensive guide will walk you through the factors that influence a vacuum’s lifespan, practical maintenance steps to extend its utility, and how to recognize when it’s time for a replacement. By following these detailed steps, you’ll empower yourself to maximize your vacuum’s operational years and make informed decisions about its care.
Step 1: Decoding the Average Lifespan: What to Expect
What you need: An understanding of your vacuum cleaner’s type and brand reputation.
Instructions: Vacuum cleaner lifespans vary significantly, typically ranging from 5 to 8 years for most household models, though premium brands or commercial units can last 10-15 years or more with proper care. Canister vacuums often have a slightly longer average lifespan than uprights due to less stress on their motors. Robot vacuums, with their complex electronics and smaller components, generally have a shorter average lifespan of 3-5 years. Cordless stick vacuums also tend to fall into the 3-6 year range, primarily limited by battery degradation. Researching typical lifespan expectations for your specific model can set realistic goals for its longevity.
Pro Tip: Don’t solely rely on warranty periods. While a 1-3 year warranty is common, many vacuums are designed to last well beyond this if maintained correctly. Consider online reviews regarding product durability when purchasing.
Step 2: The Foundation of Longevity: Adhering to the User Manual
What you need: Your vacuum cleaner’s original user manual (or a digital copy from the manufacturer’s website).
Instructions: The user manual is your vacuum’s instruction book and maintenance schedule rolled into one. It contains critical information specific to your model, including recommended filter cleaning/replacement intervals (e.g., wash HEPA filters every 3-6 months, replace non-washable filters annually), proper bag capacities, specific belt types, and troubleshooting tips. Ignoring these guidelines is a primary cause of premature failure, as improper maintenance can strain the motor, reduce suction, and lead to overheating. Make it a habit to consult this document for any maintenance query.
Pro Tip: Keep a digital copy of your manual on your computer or cloud storage for easy access. Highlight or bookmark key maintenance pages for quick reference.
Step 3: Mastering Filter and Bag/Canister Maintenance
What you need: Replacement filters (HEPA, pre-motor, post-motor), vacuum bags (if applicable), soft brush, damp cloth, mild soap (for washable filters).
Instructions: Clogged filters restrict airflow, forcing the motor to work harder and potentially overheat, drastically shortening its life. For bagless vacuums, empty the dirt canister after every use or when it reaches the “full” line. Washable filters should be rinsed with cool water until clear, allowed to air dry completely for 24-48 hours before reinstallation. Non-washable filters (often HEPA) need replacement every 6-12 months, or sooner if you have pets or allergies. Bagged vacuums require bag replacement when 2/3 full, even if suction seems fine, to maintain optimal airflow and prevent motor strain.
Pro Tip: Keep a spare set of filters and bags on hand. This ensures you can immediately replace them when needed without waiting for an order, preventing extended use with clogged components.
Step 4: Belt and Brush Roll Vigilance: Keeping Things Spinning Smoothly
What you need: Flathead screwdriver, scissors or utility knife, replacement vacuum belts (check manual for type), gloves.
Instructions: The brush roll (beater bar) is crucial for agitation and picking up debris, especially on carpets. Routinely inspect it (at least monthly) for tangled hair, string, or fibers, which can prevent it from spinning freely or cause excessive strain on the motor and belt. Use scissors or a utility knife to carefully cut away obstructions. The drive belt, which spins the brush roll, is a wear-and-tear item. Check it every 3-6 months for signs of fraying, stretching, or cracking. A worn belt can cause the brush roll to spin slowly or not at all. Replace it according to your manual’s recommendations, usually annually, or at the first sign of damage.
Pro Tip: When replacing a belt, always use the exact part number specified by the manufacturer. An incorrect belt can cause further damage or perform poorly.
Step 5: Power Cord and Hose Care: Preventing Common Failure Points
What you need: Visual inspection.
Instructions: The power cord and hose are external components often subjected to rough handling, leading to fraying, kinks, or tears that can compromise safety and functionality. Always unplug the vacuum by grasping the plug, not by pulling the cord. Avoid running over the cord or kinking it excessively during storage or use. For hoses, check for cracks, holes, or blockages, particularly at the connection points. Clear any blockages with a broom handle or specialized hose-cleaning tool, never with sharp objects. A damaged hose reduces suction significantly, making the motor work harder for less effective cleaning.
Pro Tip: If your vacuum has a retractable cord, guide it gently back into the housing rather than allowing it to snap back forcefully, which can damage internal wiring or the retraction mechanism.
Step 6: Understanding Usage Patterns: Light Duty vs. Heavy Lifting
What you need: Awareness of your cleaning frequency and typical debris type.
Instructions: The frequency and intensity of your vacuum’s use directly impact its longevity. A vacuum used daily in a large home with pets will wear out faster than one used once a week in a small, low-traffic apartment. If you frequently vacuum construction debris, large volumes of pet hair, or fine dust (like drywall dust), consider upgrading to a heavy-duty model or a shop vac for specific tasks. Overworking a standard household vacuum with demanding tasks can quickly burn out the motor or damage internal components. Be realistic about your cleaning needs and match your vacuum to the job.
Pro Tip: For extremely fine dust or liquid spills, use a specialized shop vacuum. Using a regular household vacuum for these tasks can irreparably damage its motor and filters.
Step 7: Environmental Factors: Storage and Accidental Damage
What you need: A clean, dry, and safe storage location.
Instructions: Where and how you store your vacuum significantly affects its lifespan. Avoid storing it in damp environments like basements or garages prone to temperature extremes, as moisture can corrode electrical components and degrade plastic parts. Always store it in an upright, stable position to prevent it from falling, which can crack the housing, damage internal parts, or bend critical components like the wand. Keep it away from areas where it could be tripped over or where heavy objects might fall on it. Proper storage protects it from physical damage and environmental wear.
Pro Tip: If you live in an area with high humidity, consider storing your vacuum in a climate-controlled space or using desiccant packs in its storage area to prevent moisture damage.
Step 8: Diagnosing Decline: When to Repair, When to Replace
What you need: An ear for unusual noises, observation of performance, cost analysis.
Instructions: Pay attention to your vacuum’s performance. A significant drop in suction, even after thorough cleaning, could indicate a failing motor or a persistent leak in the system. Unusual noises like grinding, rattling, or high-pitched whining often point to motor bearing issues or brush roll problems. A strong burning smell is a clear sign of motor overheating and requires immediate investigation. If repairs exceed 50% of the cost of a new, comparable vacuum, or if the vacuum is consistently breaking down despite regular maintenance, it’s often more economical and less frustrating to invest in a new unit. Don’t throw good money after bad.
Pro Tip: Before deciding to replace, check if simple, inexpensive fixes (like a new belt or filter) can resolve the issue. Sometimes a small investment can extend its life considerably.
✅ Final Checklist
- Filters (HEPA, pre-motor, post-motor) are clean or replaced per manufacturer guidelines.
- Dirt canister is emptied after each use or vacuum bag is replaced when 2/3 full.
- Brush roll is free of hair, string, and other debris, and spins freely.
- Drive belt is inspected for wear and tear and replaced if stretched, cracked, or loose.
- Power cord and hose are free from damage, kinks, or blockages.
- Vacuum is stored in a clean, dry, stable environment away from extremes.
- Unusual noises, smells, or performance drops are promptly investigated.
Important Notes:
- Safety First: ALWAYS unplug your vacuum cleaner from the power outlet before performing any maintenance, cleaning, or inspection to prevent accidental startup and electrical shock.
- When to Seek Professional Help: If you encounter persistent motor issues (e.g., burning smell, grinding noises from the motor housing), electrical faults, or if you’re uncomfortable performing complex disassembly, it’s best to consult a professional vacuum repair technician. Attempting repairs beyond your skill level can cause further damage or personal injury.
- Estimated Time and Cost Range: Routine maintenance (emptying canister, checking brush roll) takes 5-10 minutes after each use. Deeper cleaning (filters, belts) may take 15-30 minutes monthly or quarterly. The cost for replacement parts typically ranges from $5-$30 for filters and belts, while professional repairs can range from $50-$150 depending on the issue.
How to Extend Your Vacuum’s Life: Proven Maintenance Steps
Extending your vacuum’s life isn’t rocket science; it involves consistent, simple practices. By dedicating a few minutes to routine care, you can add years to its service. These steps are practical and require no special tools or expertise.
Routine Care: Your First Line of Defense
Implementing these basic habits will protect your vacuum’s critical components and maintain its cleaning efficiency. Think of them as preventative medicine for your appliance.
- Empty the Dustbin/Bag Regularly: Do not wait for it to be completely full. Overfilling restricts airflow, forcing the motor to work harder and generate excessive heat, which shortens its lifespan. Aim to empty it after every use or when it’s about two-thirds full.
- Clean or Replace Filters Promptly: Filters are your vacuum’s lungs. Clogged filters dramatically reduce suction and put immense strain on the motor.
- Washable Filters: Clean them monthly (or more often with heavy use) with cool water and ensure they are completely dry before reinserting.
- HEPA Filters: Many HEPA filters in 2027 are designed for longer lifespans, but still require replacement every 6-12 months, depending on your model’s specifications and usage. Check your manual.
- Clear Blockages Immediately: If you notice a sudden drop in suction or hear the motor straining, turn off and unplug the vacuum immediately. Check the brush roll, hose, and intake for any obstructions like hair, string, or debris. Persistent blockages lead to motor burnout.
When to Replace Your Vacuum: Repair vs. New Considerations
Deciding between repairing a failing vacuum and purchasing a new one in 2027 involves a careful cost-benefit analysis. Industry experts recommend evaluating the total repair cost against the price of a comparable new unit, considering depreciation and technological advancements. The “50 percent rule,” which suggests replacing if repairs exceed half the cost of a new model, remains a valid guideline from consumer advocacy groups.
Assessing Repair Costs vs. New Unit Price
For common issues in 2027, such as a motor replacement or a major electronics fault, professional repair costs for a high-end upright or canister vacuum can range from $180 to $350, according to repair shop estimates. Replacing a depleted battery pack in a premium cordless stick vacuum, a common occurrence after 3-5 years, may cost $120-$200. Conversely, a new mid-range vacuum with updated filtration and smart features might retail for $400-$700. If the repair cost approaches or exceeds 60% of a new model’s price, replacement often offers better long-term value, as stated by appliance service technicians.
Impact of Evolving Technology and Features
Vacuum technology is continuously advancing. New models in 2027 frequently incorporate AI-powered debris detection, improved HEPA filtration systems certified to capture even smaller allergens (down to 0.1 microns), and more efficient, quieter digital motors that consume less energy. Upgrading can provide significant performance benefits, particularly for allergy sufferers or homes with pets. Manufacturer data from 2026 shows that new vacuum models are approximately 15% more energy-efficient than those from five years prior, contributing to lower utility costs over their lifespan.
Environmental and Sustainability Factors
While repair can extend a product’s life and reduce e-waste, consider the environmental footprint of frequent repairs versus a more energy-efficient new model. Many new vacuum manufacturers in 2027 are focusing on using recycled materials and offering clearer recycling pathways for end-of-life products. Some brands now provide carbon footprint data for their appliances, aiding environmentally conscious decisions. Consulting organizations like the EPA’s WasteWise program can offer insights into sustainable purchasing and disposal practices for home appliances.
What If It Still Doesn’t Work?
If your vacuum cleaner continues to malfunction despite diligent maintenance and basic troubleshooting, more advanced intervention may be necessary. Do not attempt complex electrical repairs without proper training, as this can be hazardous and void warranties.
- Perform an Advanced Digital Diagnostic (Smart Vacuums Only): For robotic or smart stick vacuums, check the manufacturer’s companion app for specific error codes or advanced diagnostic tools. These apps often provide detailed insights into sensor failures, motor issues, or connectivity problems that basic troubleshooting overlooks.
- Inspect Internal Airflow Paths: Beyond visible blockages, use a strong light and a thin, flexible probe to check deeper within internal hoses, motor intake, and exhaust vents for hidden debris or pet hair clogs. Blockages here can severely impact suction and strain the motor.
- Contact Manufacturer Technical Support: Before professional repair, utilize the manufacturer’s dedicated technical support lines. They often have proprietary diagnostic steps or software updates that can resolve issues, especially for newer, digitally integrated models. Have your model number and serial number ready.
- Seek Professional Appliance Repair: If all else fails, consult a certified small appliance repair technician. They possess specialized tools for motor testing, circuit board diagnostics, and part replacement. In 2027, diagnostic fees typically range from $80 to $130, with repair costs varying widely, from $150 for minor electrical fixes to $450+ for major motor or control board replacements.
Conclusion
According to verified research and expert sources, vacuum cleaner longevity in 2027 is a dynamic blend of manufacturing quality, user maintenance, and technological evolution. Lifespans average 6-10 years, heavily influenced by consistent care and timely attention to issues. Evaluate repair costs against new model benefits, including enhanced efficiency and features. Your actionable next step: establish a bi-monthly or quarterly maintenance schedule for your vacuum to maximize its operational life and preserve optimal performance.
❓ Frequently Asked Questions
What is the primary factor that dictates a vacuum cleaner’s lifespan?
The primary factor is a combination of build quality and frequency/intensity of use. A well-built vacuum used weekly will outlast a cheaper model used daily, even with similar maintenance routines.
Do robotic vacuums have a shorter or longer lifespan compared to traditional vacuums?
Robotic vacuums generally have a shorter average lifespan (2-5 years) than traditional uprights or canisters. This is often due to battery degradation and the complexity of their electronic components.
How does motor quality directly impact the longevity of a vacuum cleaner?
A higher-quality motor is engineered for greater durability, better heat dissipation, and more efficient operation, allowing it to withstand prolonged use and prevent premature failure, directly extending the vacuum’s life.
What are the common warning signs that my vacuum cleaner is nearing its end?
Key warning signs include noticeable loss of suction, unusual grinding or loud noises, a persistent burning smell, frequent overheating, and any visible cracks or damage to essential components like the hose or casing.
Is it always more cost-effective to replace a broken vacuum cleaner than to repair it?
Not always. For high-end models or minor issues like a broken belt or clogged hose, repair can be very cost-effective. However, major motor or electronic failures often make replacement the more financially sensible option.
Beyond regular cleaning, what other maintenance tips can significantly prolong my vacuum’s life?
Beyond regular cleaning, always clear blockages promptly, avoid vacuuming wet areas unless designed for it, use the correct attachments for different surfaces, and ensure proper storage in a cool, dry place away from direct sunlight or extreme temperatures.